I’ve been procrastinating doing this post that some of you have been waiting for, on the topic of how we’re protecting our strawberry gutter plants from birds, squirrels, and other small creatures that may be drawn to our delicious berries, and have their fill of our harvest. The reason I have been hesitant, is because I’ve come to realize I’m not thrilled with our solution, nor excited to share it with you. I’d even go so far as to say that in all of the years Michael and I have collaborated together over creative projects, and problem-solving, this is one we just never saw eye to eye. Our visions and plans were completely different, and……being the clever guy he often proves to be, I let him do it his way. As a result, well……I’ll just say he may have been having an off day. My idea was far simpler, and I think would have been easier for me to manage. (I may be wrong. I’d need to experience it, to know for sure. But it works in my head!) Does this system do the job? Yes; the strawberries have been 100% protected, after one little alteration. But it’s not the easiest design to work with, day to day. And while I’m complaining, I have to say, I haven’t loved this new experience of using the gutter-system, for growing strawberries, either. I’m trying to give it more time. And let’s face it, I am stuck with this for awhile, anyway. But truth be told, I’ve been missing our former strawberry garden bed!
All of that aside, I have told you I’ll share what we’ve come up with, and that’s what I’m going to do. If nothing else, you’ll realize we have less than stellar ideas as well, and maybe you can make some improvements on what we’ve done here, into something that works perfect for you, in protecting your own gutter-system gardens.
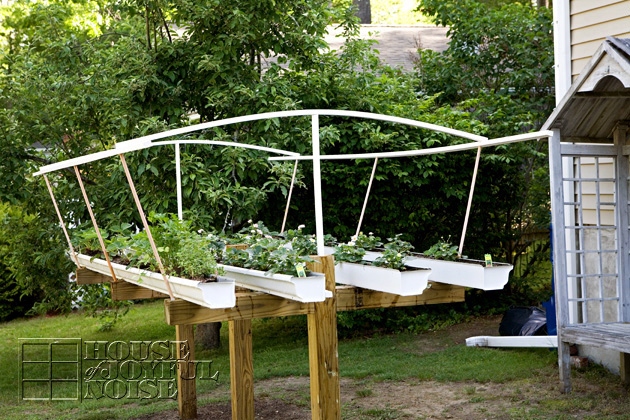 To start, here is our newly built gutter planters, raised up on and screwed into, supports. The overhead extensions you see were installed to hold up the netting we’d be putting over it.
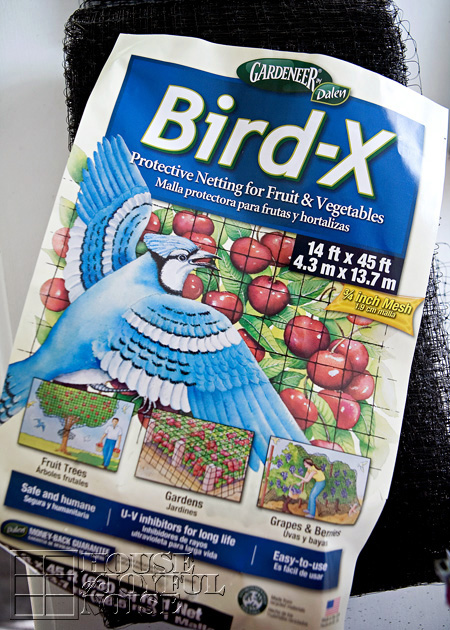
We originally planned on using a large piece of cheesecloth, to cover the whole system, and protect our berries from birds and such. But we were hard-pressed to find one wide enough to cover the entire thing with on piece. We could only find strips, that would be really hard to work with, with something as wide as this. What we did find was this very large protective netting. We were able to cut it to size.
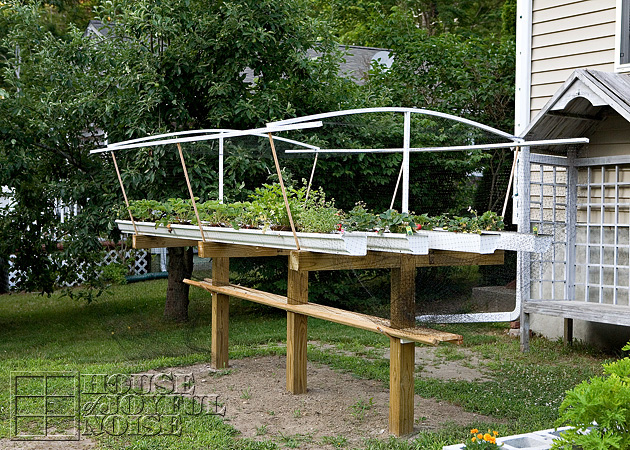 While it’s hard to see without looking closely, this is the system all covered and protected, with the netting.
Each long end of the netting is sandwiched with strips of wood, and then placed on the dowel pegs that are installed in the posts.
The excess netting on the remaining two ends is just kind of stuffed up there. (It never stays.)
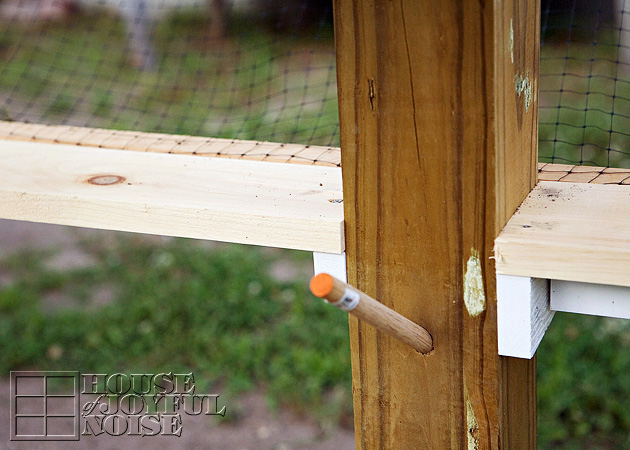 In this photo above, one side of the netting is raised up. The middle 2×4 that you see is the piece Michael later installed, when we curiously found one berry with what looked like a bite taken of. Though we never saw a critter and never saw confirmation of an invader, we suspected maybe something actually entered up through the open middle. Thus, Michael blocked it off.
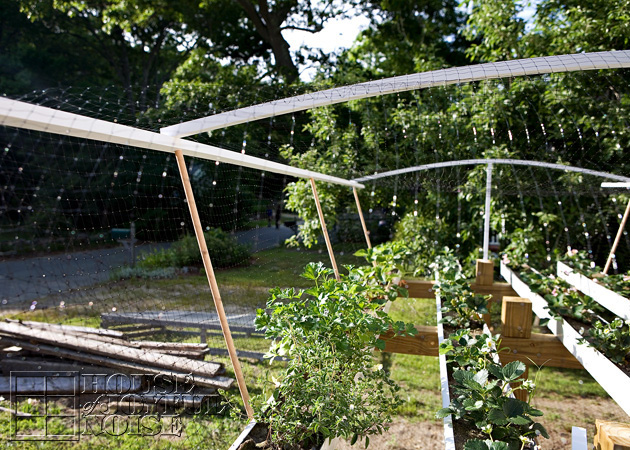 Another view of the covered plant gutters.
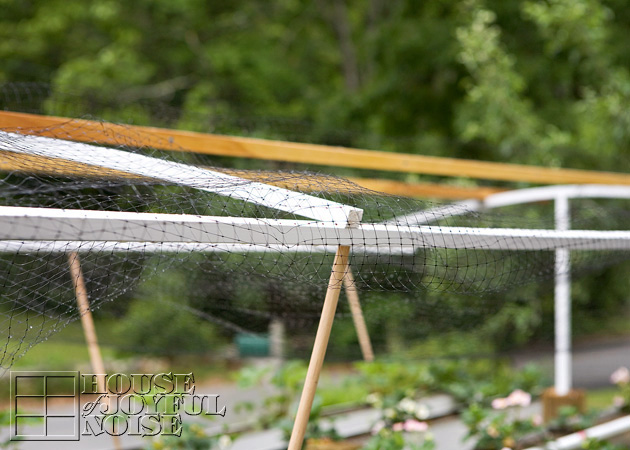 Here in the photo above, one side is open. So in order to get in there and pick berries, or work with the plants you need to take the wooden edge, and put it up there on the top. The difficulty for me, is that the netting is constantly getting caught, on everything, including the strips of wood which the netting is sandwiched between. Plus, the ends of the netting are always blowing on the ground, and it’s so easy not to see it. I have tripped on it, and again….it gets caught on everything. Even the clover growing on the ground. It’s just frustrating to work with.
In a nutshell, my own idea was to just throw netting over the whole thing, gather it together underneath, ball it up, and throw it all underneath! In my head, it’s pretty easy to work with, and get in and out without a fuss. I think we’ve got enough netting left to go ahead and just try it.
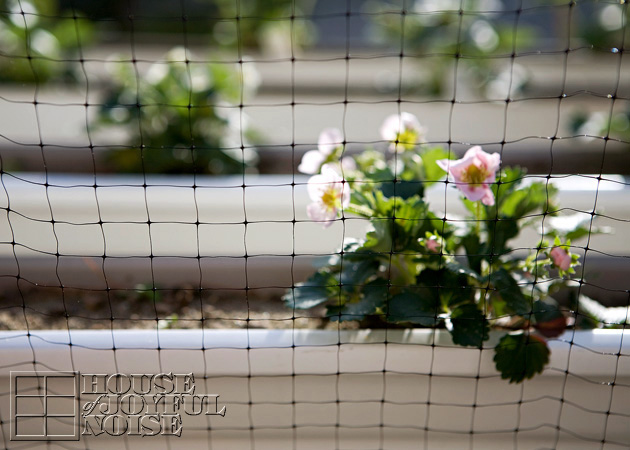 So that’s really the details of what we have done to protect our strawberries, with this new (to us) system of growing them.
On a different but related note, the plants since have grown a whole lot bigger than you have seen in these photos! We have been able to pick a few berries a day. But of course, with the plants being new and still getting established, we weren’t expecting much this year.
We hope this post serves you in some way. Whether it’s helping you decide what you’d like to do, what you realize you do not want to do, or what you can do better much than we have! It’s all in the spirit of throwing around ideas, and sharing experiences. We will, of course, be keeping you posted on our continuing journey of strawberry growing. One thing we know for sure, is that strawberries are so easy to grow, and well worth figuring out the little kinks along the way!
We may (or may not) eventually go back to a garden bed (like the rest of our gardens), but we’ll always keep growing these magnificent and delicious berries.
Thanks so much for stopping by.
UPDATE:
Click HERE to see how these strawberry plants in rain gutters are looking one year later.

Do you think you’ll try something different next year? I haven’t even been able to get my berries to grow. They are full sun and watered mostly daily. I find the gutters dry out really quickly. I saw some leaves popping up but then they were dead. I planted from dried root, so will probably try something different next year. Remember your sewing machine! It would take some work to piece together cheesecloth or tulle but you could make it one piece or however you needed it. 🙂