I thought this 4th of July craft, we call Liberty Shakers, was a great one for the kids to make, so they could have a little something to make some ‘joyful noise’ at our various celebrations coming up for America’s birthday!
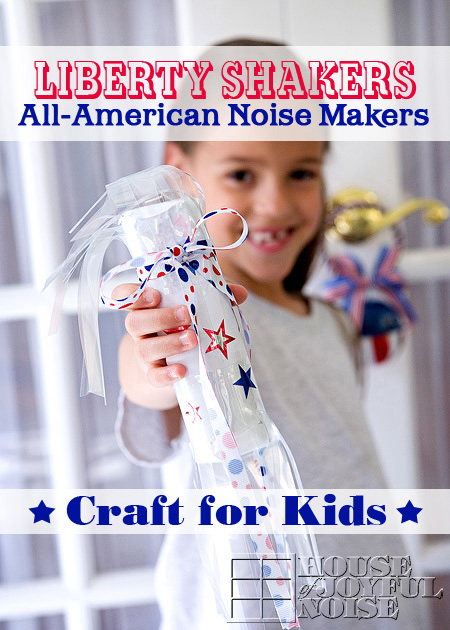
Living in America’s Hometown, our town most always has a huge, big long 4th of July parade through the heart of our downtown area. But this year, there will be no parade, due another exciting event their holding. (Which is even more exciting, and we’ll be sure to document and share with you when the times comes.) Anyway, my point is, if there’s a 4th of July parade in your town, your kids will love having these along. Maybe they can shake them for the fireworks finale too!!
Very young kids will definitely need some assistance making these, but none at all using them! : )
Here’s what you’ll need for supplies:
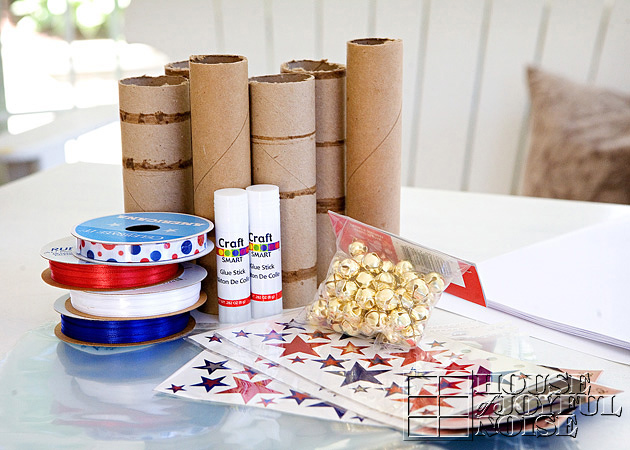
- Bathroom tissue tubes, and/or paper towel tubes cut in 1/2
- A pile of white copy/printer paper (or any white paper)
- Clear acetate sheet protectors
- Small jingle bells
- Any red/white/blue ribbon
- Red/white/blue star stickers of any kind
- Clear shipping tape (not shown, but it was a lifesaver)
- Fiskar cutter (also not shown-not needed but I use it A LOT for most everything regarding cutting straight paper.
- *Craft glue – *Note there are glue sticks on the corner. Can I just vent for a second? I’ve decided I despise glue sticks, because every brand I have ever tried has been lousy. We ended up using the same brand glue in an Elmer’s Glue style bottle. Elmer’s glue would work too. But my opinion is, it’s never worth bothering with the glue sticks. Great concept for kids, if they actually worked. Thanks for listening.
Here’s how you make them:
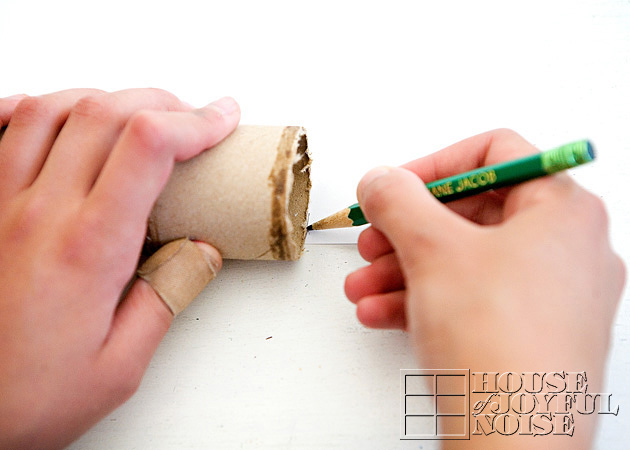
1) Grab a sheet of white paper and a tube, and placing the tubes end at the edge of the paper, mark off the width of paper you’ll need (where you’ll cut).
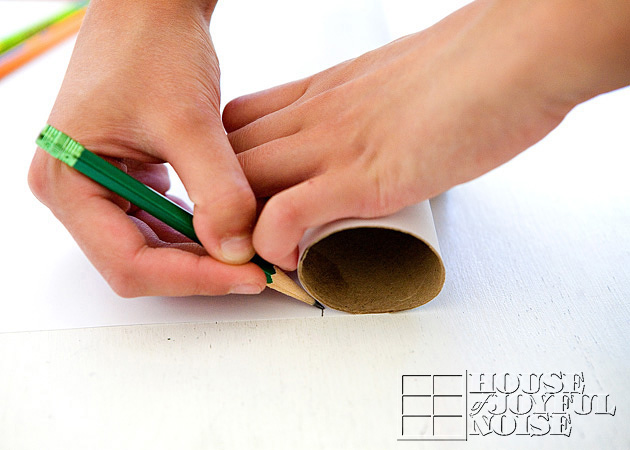
2) The roll the tube in the paper to determine how much length of paper you’ll need, and mark that side. (Similar to determining how much gift wrap you need to wrap a present.)
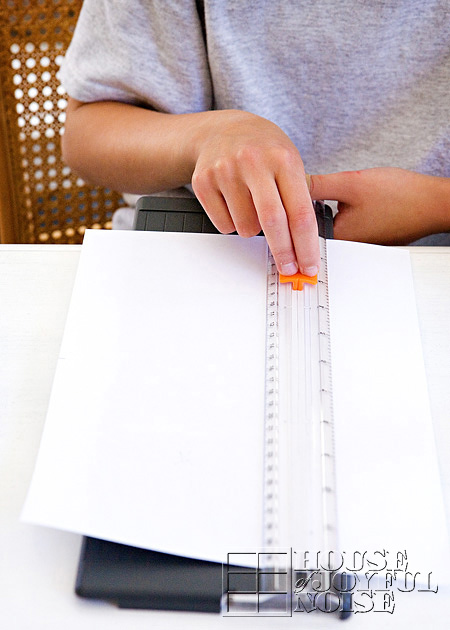
3) Here we are cutting the size of paper we need, determined by our tick marks, using the * Fiskar cutter.
*If you don’t have a Fiskar cutter, but find yourself doing crafts that require cutting in a straight line, this tool is worth it’s weight in gold! I use it ALL of the time. They are available at any fine crafts store. The orange blade piece pops out for easy replacement and it also comes with a scorer piece that pops in!
Now if you don’t have this tool, using a ruler and pencil to mark your lines from your tick marks, and cutting with scissors will work as well, of course.
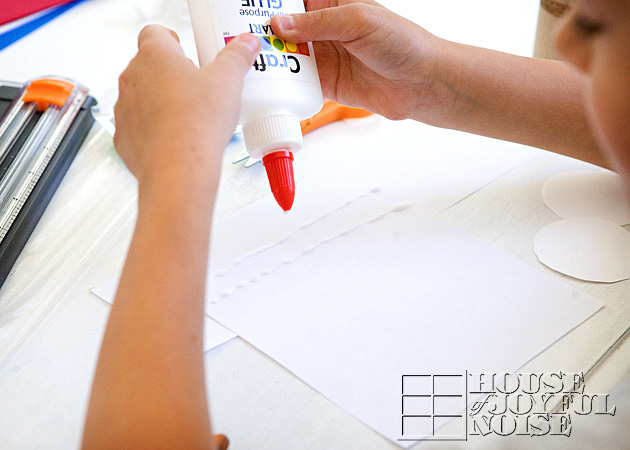
4) Put glue at one end of the sized piece of paper you cut > the end that will run lengthwise with your tube.
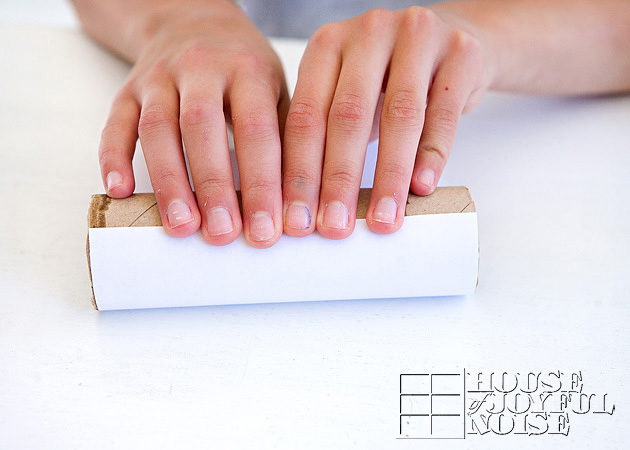
5) Start rolling the paper around your tube.
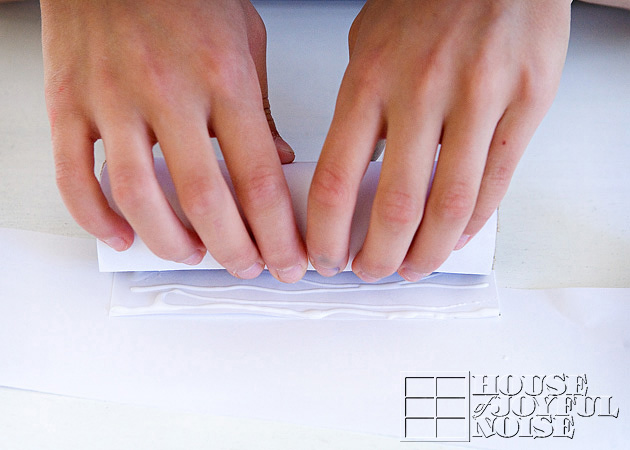
6) The end of the paper you are rolling should have the glue already at the end, to seal it to the tube.
7) Now, this next step I do not have any photos of because frankly, it took a little figuring and a lot of assistance on my part. So there was a little too involved to be photo-taking. But…..you need to cut some circles out of your white paper , that do not need to be perfect. But these paper circles do not to be about 1/2 or so bigger than the end of your tubes. You may want to trace the end of the tube as a guide, keeping your pencil tip away from the edge of the tube. Then you can cut some small slits around the edge of your circles (toward the center, for easier folding. Because you need to use these circles to close off the end of your tubes. Placing the circles at the end of the tube, fold over the tube all the way around. This is one step that the clear packing tape came in very handy. We just cut the right size pieces of tape and wrapped it around to hold the paper closed over the tube end. Comprendez? ONLY CLOSE ONE END OF THE TUBE AT THIS POINT!!!
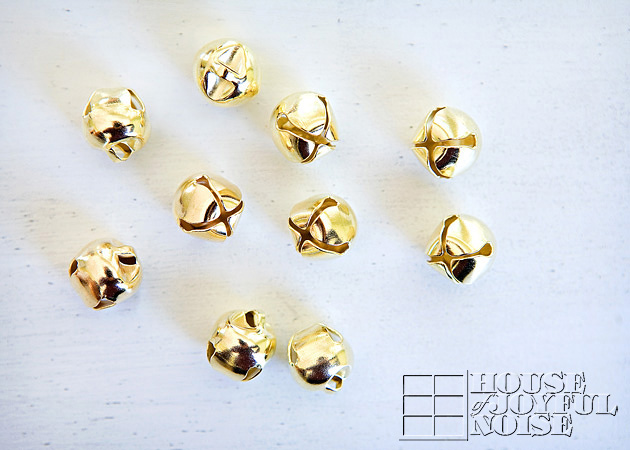
8) Let the kids count out 10 jingle bells, and drop them into the open end of the tube.
Also, maybe using more or less will make different sound effects, but we did not test that theory, so please do not hold us responsible with that idea. : )
9) NOW, you can close the remaining open end of the tube, following step 7) above.
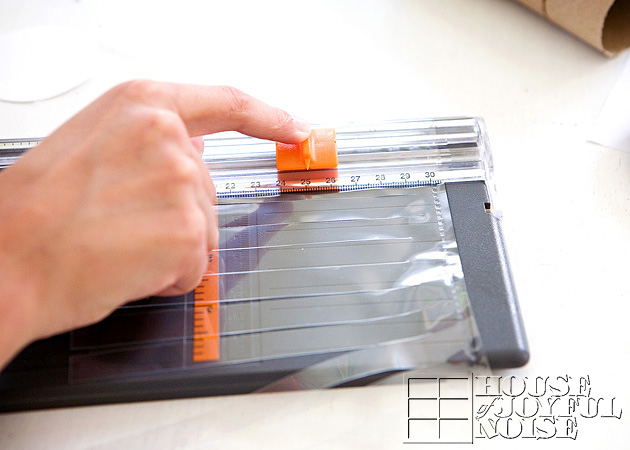
10 ) Next, take an acetate sheet, and cut it in half, using the center ring whole as a marking point.
11) Then cut fringes with either scissors, or your Friskar cutter. You need to stop an inch or so, short of the end! You do NOT want to cut all of the way.
When you are done, you should have a piece that looks like this below….
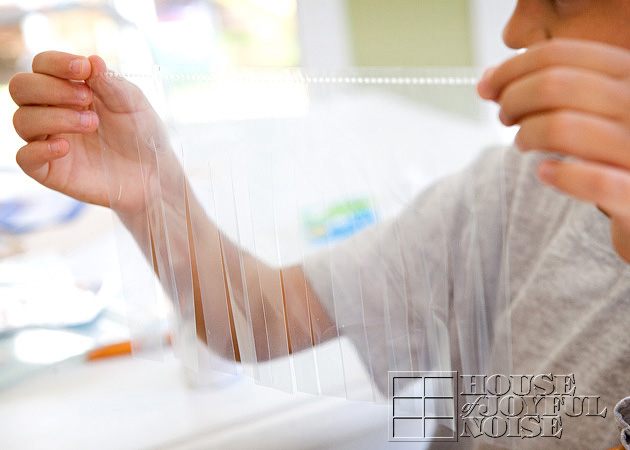
So you are going to need this fringe piece for EACH END of every tube you are making.
12) Again, no photos here, but wrap the fringe piece(s) around the end(s) of the tube(s), with the base on the tube, and fringe ends extending off the end. And again, clear shipping tape was perfect for securing it.
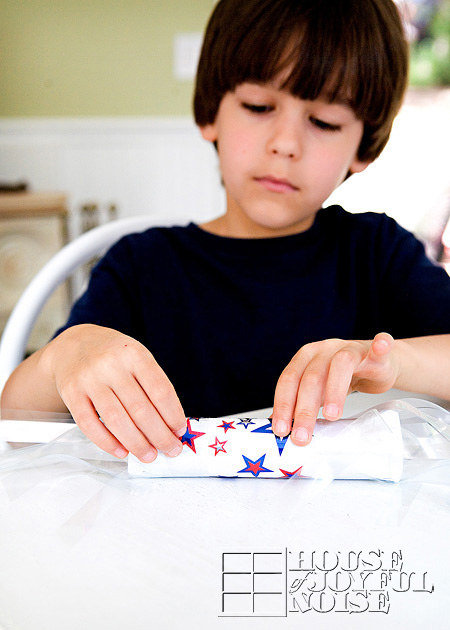
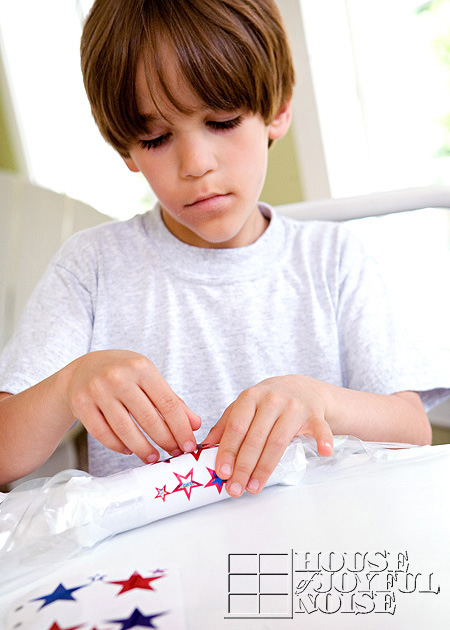
13) Decorate the tubes with sticker as you’d like.
14) To further dress up your shakers, you can use the red, white and blue ribbons in various creative ways. You can cut long pieces of the ribbon and tape them at ends of the tubes along with the fringes, and/or wrap them around the tubes as bands-again using tape to secure. For {O}’s, we tied one band, on one end, with a big bow, and long ends, to make it girly-girly for her. : )
15) Once they are all decorated -they are ready for S H AK I NG!
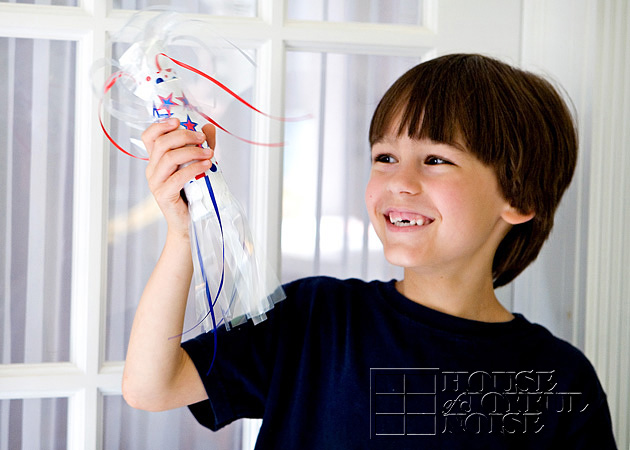
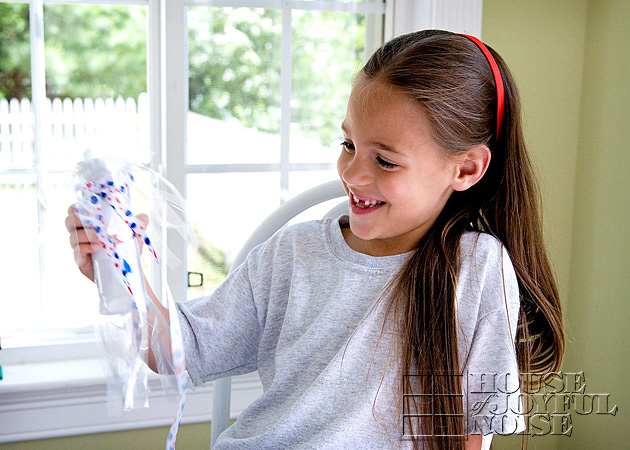
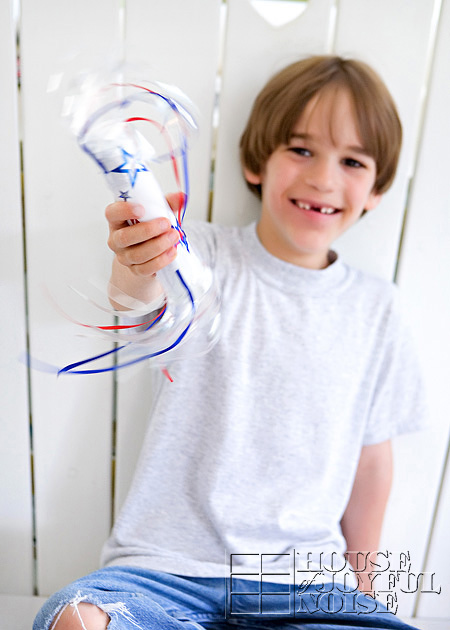
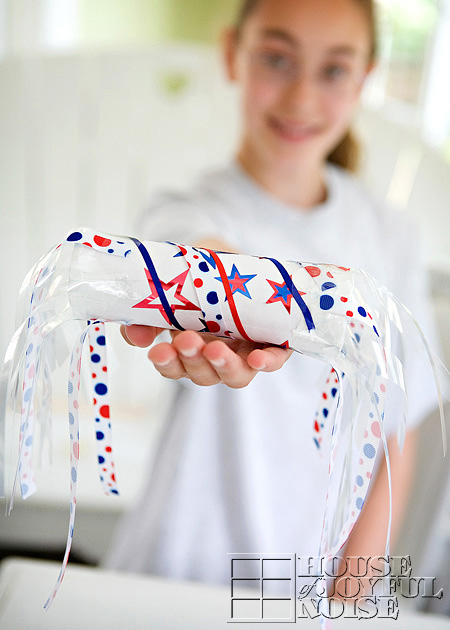
I love that they kind of look like fire crackers, too.
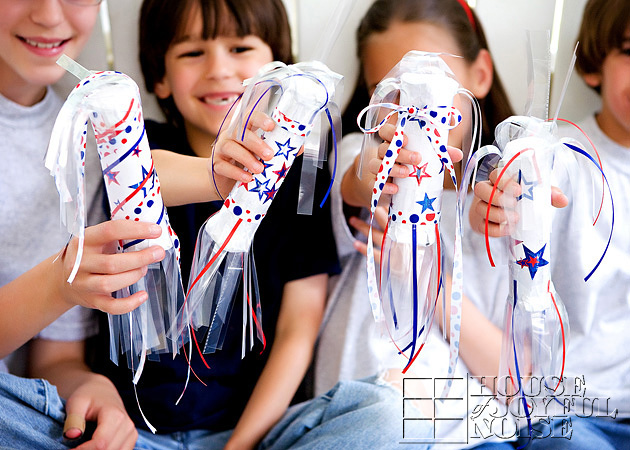
HAVE FUN, making some ALL-AMERICAN NOISE!!

Cute project. If you use cupcake papers to close the ends of the tube, you can purchase holiday or colored papers that would add to the festive look. Before you wrap the white paper on the tube, close one end by gluing on a cupcake holder. Fill the tube with the bells, rice, or beans; then put a second cupcake paper on the other end of your tube. Glue or tape it down. Next, follow the directions for putting on the white paper on the tube. By closing the tubes first, then putting the paper on the tube, there is less chance of the material inside of the tube from popping out of the ends.
Hey Kathryn! Cupcake wrappers would have been a great idea, to close the ends of the tubes. Especially ones American-themed. Oh well….what we did worked, and they are actually still together, years later here. Great suggestion for others trying this project though. Thanks for the input!
Laura / House of Joyful Noise blog
We’ve been a little low on time to craft lately – but really….we need to bump this one down, and soon!
Glad you are inspired, Tracey! The great thing about sharing crafts, is that crafters can come up with their own variations! In your case, you could make the shakers your school team colors, and maybe paste a pic of your team mascot, if you have one, or school emblem. Whenever you make them, I hope you share photos on your blog! : )
I love love LOVE your new blog! I will be following it for sure. I love this craft too. Every year we make shakers for the highschool football homecoming parade, and these look so much more polished than what I have done with my students in the past. I can’t wait do these in the fall. Thanks for the great idea!