Every time I’ve gone to Michael’s Arts and Crafts, I’ve looked at these large white initials / letters you can purchase individually. I knew I wanted to create something using these letters as personalization, for {O}’s room. But I was undecided if I wanted to do her whole name, or just her initial.
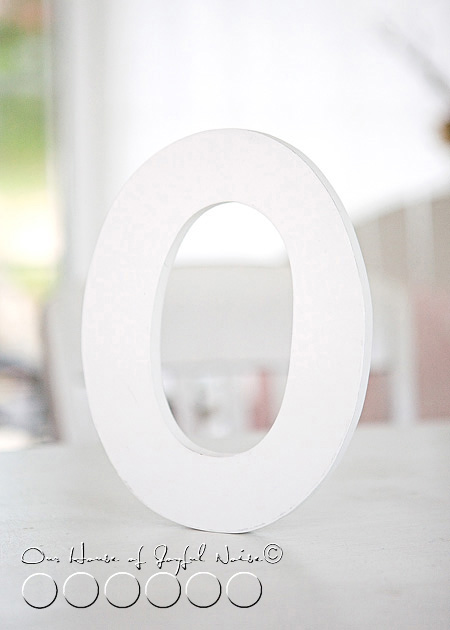
The letters have a nice flat white surface to work on. But what to do on that surface, was another matter I was undecided on. Those were the questions that kept me from purchasing any for while. Finally, I decided just her initial would be cute, as we actually do call her “O” half the time.
To decorate the letter (or letters), I initially (no pun intended ; ), thought I’d probably paint a pattern. But then I took to the idea of picking out some cute scrap booking paper, and Modge Podging the surface. Not a new concept by any means, but I wasn’t looking for a new invention.
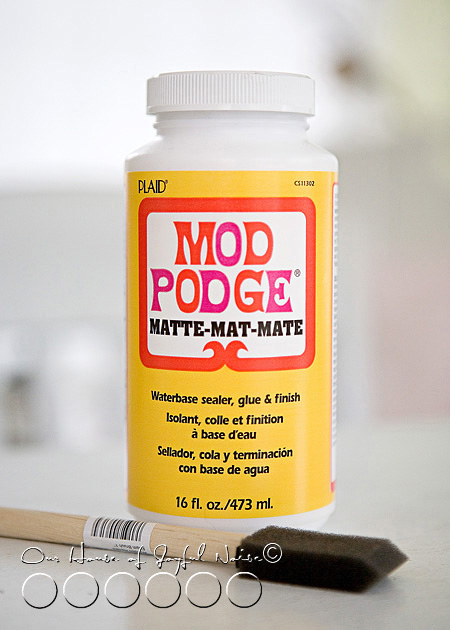
I love working with Modge Podge. There are so many varieties, but I knew the Matte finish, which I had on hand, was all I needed, as a glue and also a top finish.
We had had a family trip to Michael’s one evening, so {A} could spend her Gift Card she got from her Grandmother for her birthday. In case you are wondering, {A} knew exactly what she wanted, as she had been wanting it for a long time: a wood burning kit. She’s been having fun with that, practicing, and getting ready to do a project. So while we were there at our favorite local craft store, I thought it would be nice to let {O} pick out the scrap booking paper to use, to finish to the initial for her room.
We chose 2, because I had the idea that we could finish both sides of the “O”, and make it reversible! Naturally, you can’t do that with every letter of the alphabet, but it works for “O”.
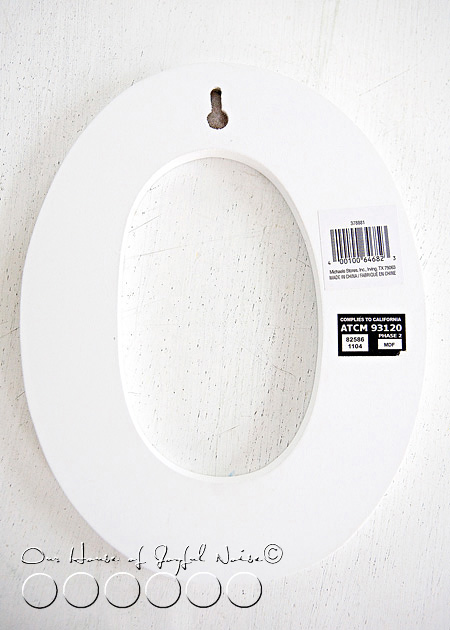
The back side of the letter does have a hanger hole, and stickers, which were way too difficult to get off. So I left them. The scrap paper is thick enough that I knew they wouldn’t show through. So my plan was to just paper and Modge Podge right over the hole and stickers.
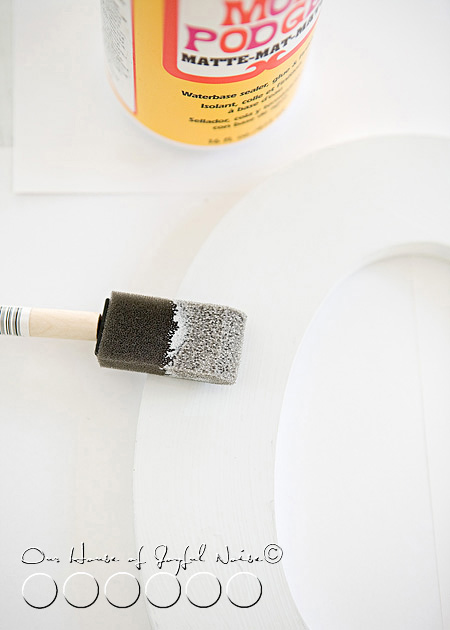
I started by putting a good layer of Modge Podge on the front surface of the letter.
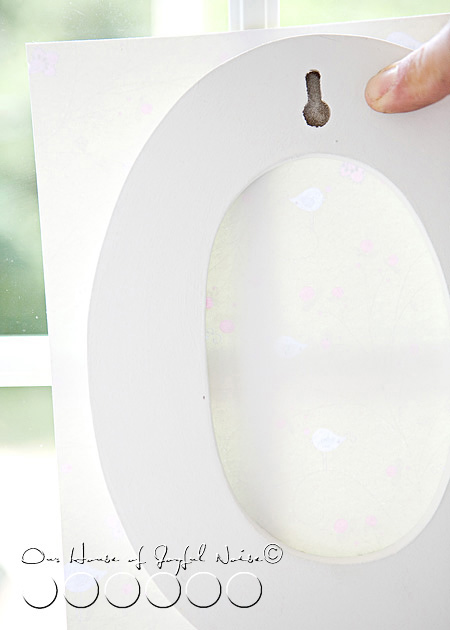
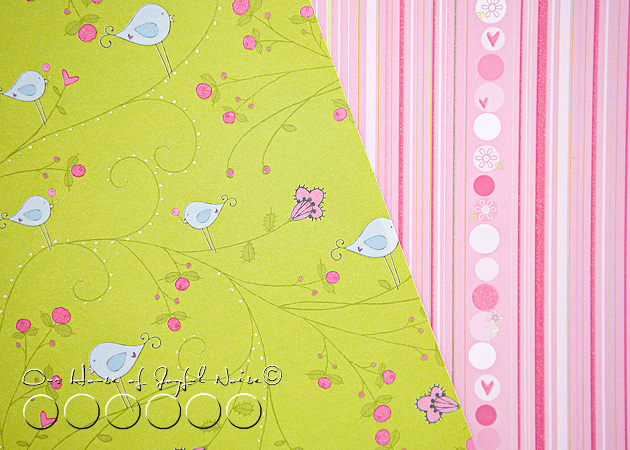
Then, I took my letter, and the apple green sheet of scrap booking paper, over to a window. Placing the paper onto the window, with the backside facing me, I strategically placed the Modge Podged side of the letter, onto the paper. The reason I did this at the window, was to be able to see the pattern on the other side of the paper, and get as many little blue birds onto the letter as I could, and not cut many or any in half, if possible. The blue birds were the charm of the pattern to me, so I wanted them to be as much a part of the piece as possible.
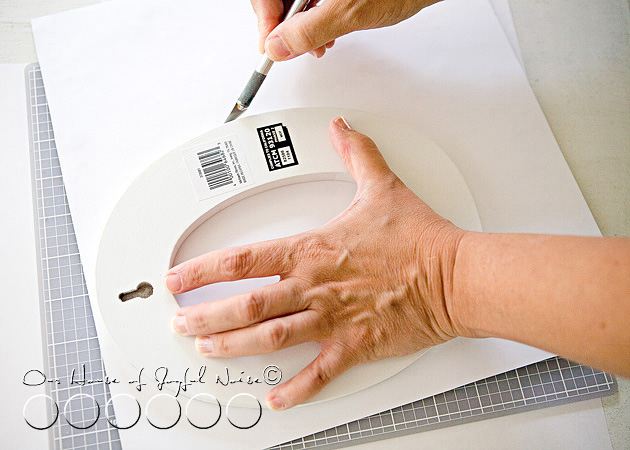 I took the letter now stuck to the paper, back to the table, and on a self-healing mat, trimmed off the excess paper with an x-acto knife. Please excuse my mother’s hands. ; )
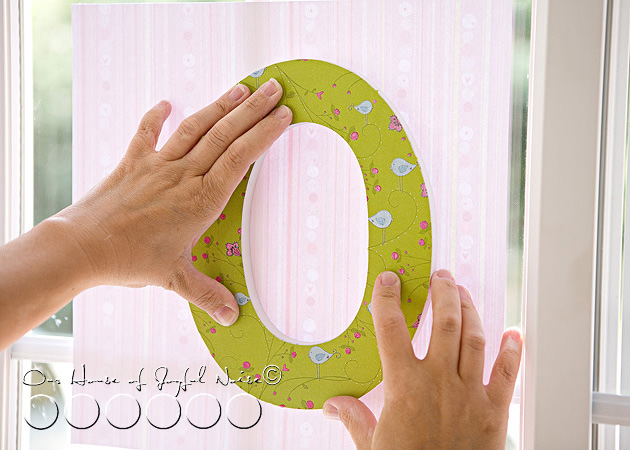 Once the apple green paper was all trimmed to size, and rubbed down good, I repeated the whole process for the opposite side:
1) Modge Podge the white surface of the letter 2) Bring the scrapping paper and the Modge Podged letter over to the window, and place the paper onto the window with the back side facing you 3) *Strategically place the letter onto the paper, considering the placement of the paper. 4) Trim off excess paper with an x-acto.
*Using striped paper, is even trickier! It’s a tad more difficult, with a rounded letter such as this, to place the letter in such a way to be sure that the stripes will be straight. Of course the striped pattern could go horizontally, or even diagonally. With a letter with a straight edge, it is easier to line up with the stripes and get it straight. If this is more than you’d want to bother with, be sure you choose paper that is a more random sort of pattern. Or, to be super safe, you could use solid paper, if that’s not too boring for you.
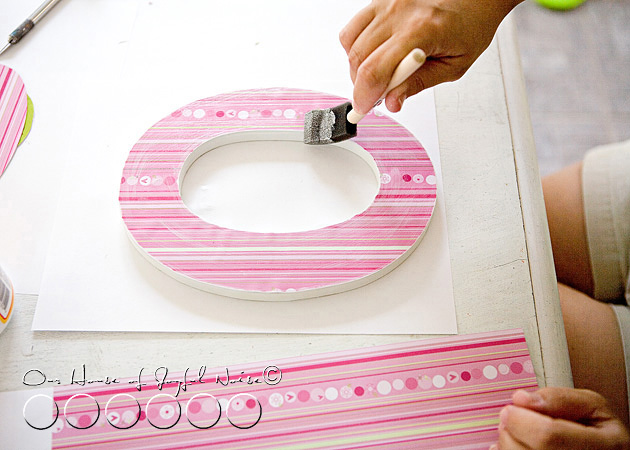 Once all of the paper is trimmed, Modge Podge the surfaces as a protective coating and finish. Allow one side to dry completely, before doing the other. Then I sanded the edges, just to rough it up just a little.
I was undecided, it it really looked finished. I’m still not sure! I’d love your opinion, once you see it hanging.
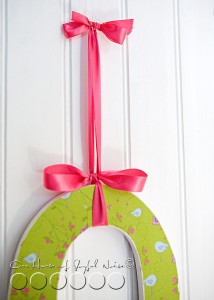
Now, since I made this a reversible/2 sided letter, covering the hanger hole on the back side, I hung the letter with a coordinating satin ribbon. It took a little patience, to double tie the bows, and have them come out nice, so that the weight of the letter did not untie the bows! With a few deep breathes, I managed.
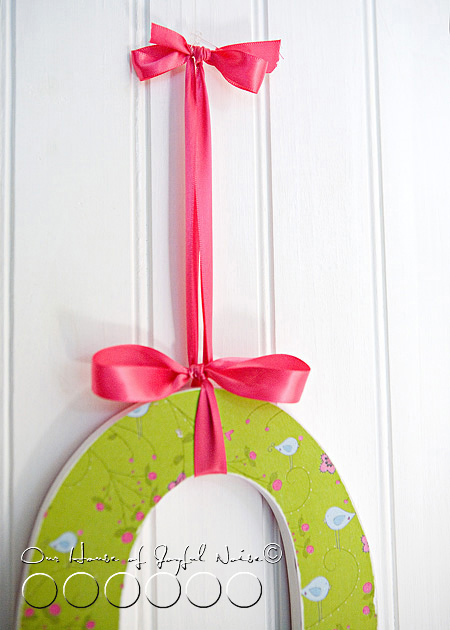
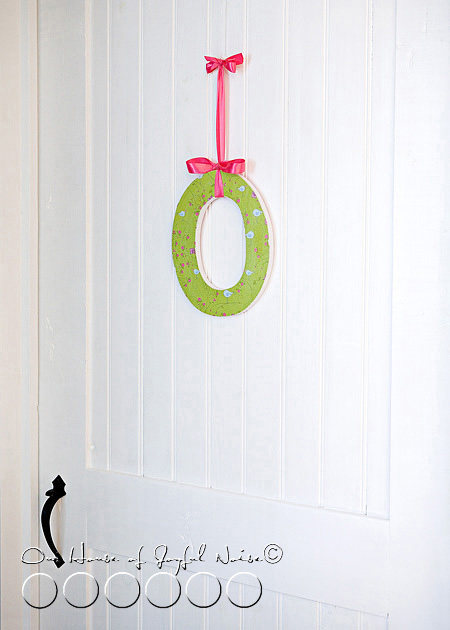
Here it is, hung on {O}’s bedroom door. The plan was actually to hang it inside her bedroom, but there was not adequate light in there (later in the afternoon) when I wanted to photograph it. So I hung it on her door. It may or may not stay there.
As a side note, Michael made this latch door, as he is (still in the process of) making all of the doors in the whole house. I-love-these-doors! They will actually be a little distressed and made to look older, later on when they are all done, for a more old farmhouse look.
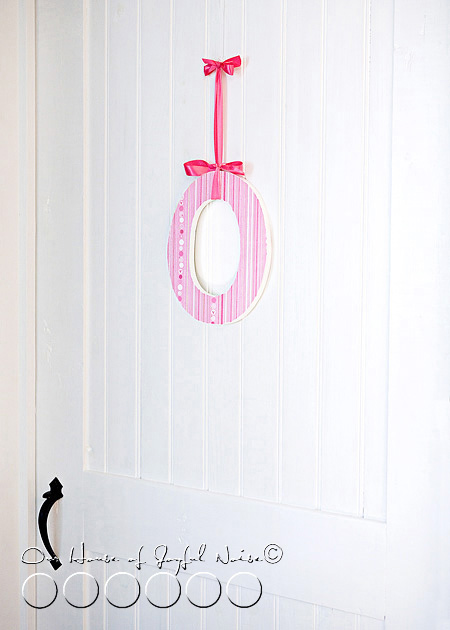
{O} loves that she can flip her letter over any time she wants, and change the look of it, “depending on what mood I’m in that day”, as she put it.
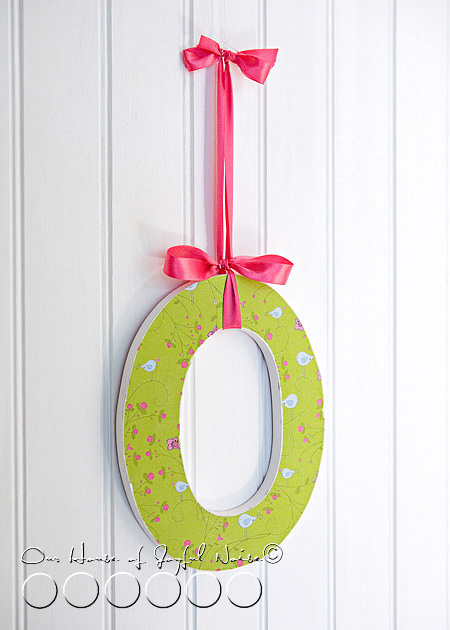
Here’s a closer look. I like it, but I am still wondering: Does it need some sort of trim? Or should I paint the inside edge of the letter, a color that coordinated both sides? Or is it cute as is?
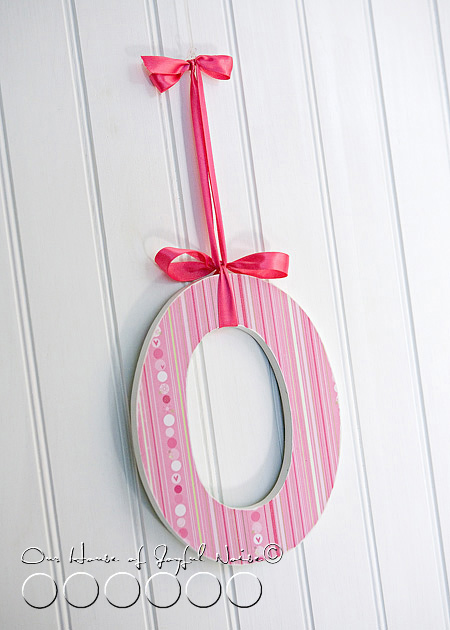
Give me your opinion. This craft may or may not be officially complete. Either way, I think it’s a quick & easy craft, and adds a little cute personalization to a room. Imagine the creative ways you could make a decorative letter. Maybe using 3d elements, painting, or hanging with different materials like thin rope, twine, lace…the possibilities are endless. I’m already thinking of the boys room.
See, we’ve been working on finishing and decorating our home for years. I have SO much to show you, in the near and distant future, as various parts of the kid’s rooms are finished and decorated. The girl’s each have their own room, and the boys have a BIG room to share. Very cool features. The kids have very different personalities, and we are creating their rooms in ways to reflect that, and their style. Such a fun process! We are so blessed with Michael’s carpentry skills too, and we ladies know how much fun interior decorating is! (As money allows, which is why it’s taken us this long as it is.) So I hope you’ll follow us along through our home finishing journey.
But back to the “O”. Done or not? And have you resubscribed, as you need to, and put yourself in the running for our current GiveAway?

Maybe a tiny birds nest with a few tiny eggs on the inside of the “O”.
That’s a sweet little idea, Jeanne! I’ll have to see how one fits.
Thanks for coming by, and your great idea. : )
– Laura / House Of Joyful Noise
Thank you Ladies, for the input on my suspected unfinished look of this letter project. I came up with a great solution idea. As soon as I get what I need, and finish it off with my idea, I think I’ll update this post! Thanks for your thoughts! <3
I’m with Vivienne – you need something on the inside edge, m’dear.
I think it’s adorable. It looks cute just the way it is, but ribbon around the edges would be cute too. Or for the next ones you do, you could paint the edges, then mod podge, the rough it up…
Good ideas, V! You know…maybe I could STILL paint the inside edge. Because distressing it then would show better. I think that’s maybe what is bugging me a little. It’s too clean/perfect looking! lol
These are super cute! Love the paper choices too!
Thanks Katie!
I love it. We all need to change our names so we can do both sides of our letters. he-he-he
lol Paula. I love it when you come around! XO