Several blog posts back, I shared a simple craft I did making decorative paper pennants. Part of that project was putting eyelets in the top corners of the pennants, to string ribbon through, and hang like paper bunting. I asked in that post if there was anyone interested in a tutorial on the procedure of using eyelets, and one of our readers, Lindy over at Veni Vidi Scrappy, said she would. She is a passionate scrapbooker, as evidenced by her great site, so this would make for a very useful technique for her. But there are many creative ways you can use eyeletting for.
I’m happy to share how I set eyelets! But what I didn’t know at the time I offered is, there are new tools that supposedly make this process even easier, and quieter, that have become available in the scrapbooking industry in recent years. I have had my eyelet/brad set, from Making Memories, for a good many years. Apparently, longer than I knew! So for the sake of reference, the newest tools now available, and the methods in which they are used, can be seen here at this site.
However, I have rather enjoyed using my cute little hammer, and the method I have used all of these years, as noisy as it is. So regardless of the fact that this is now the ‘old fashion’ way’, I’m going to share it as promised anyway. And most likely continue to do things the old fashioned way, for a good many years to come. And show you now just how I do this.
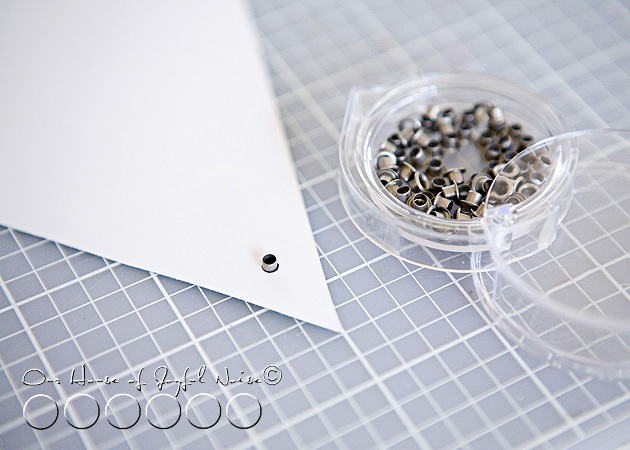
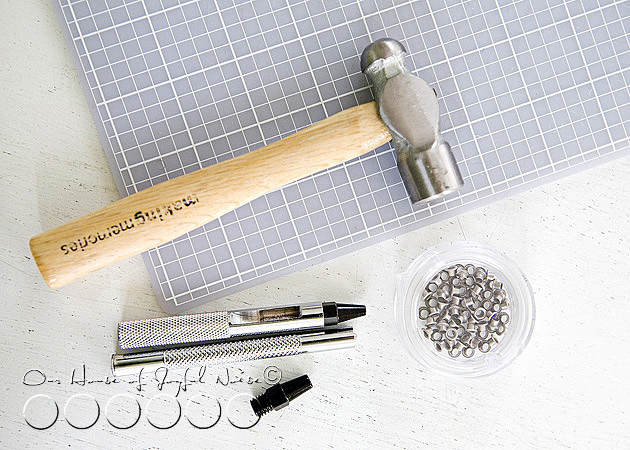 As I mentioned, the old tool set I have is from the company Making Memories (MM). The small container you see are some MM eyelets, used in this tutorial, and are brushed aluminum. But they come in bronze as well, and a large selection of colors. Eyelets come in 2 sizes, and the tool tips for both sizes come with this set. Also seen is my cute little hammer, and a self-healing mat I use to set eyelets on. I also use it for cutting things with an x-acto knife. You should be able to find these tools at Michael’s Arts and Crafts, and other craft supply stores.
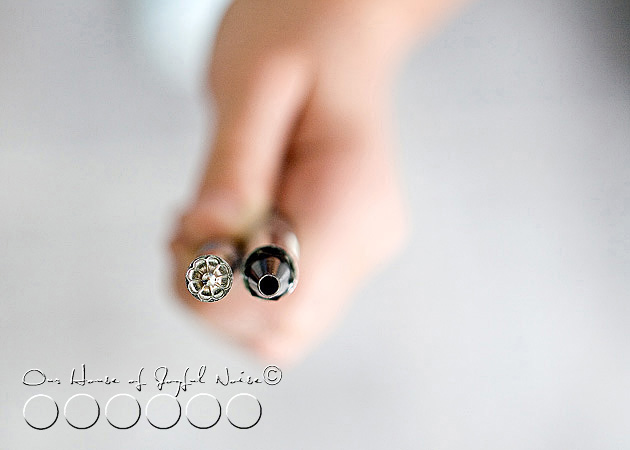 On the right you see the tip of the small hole puncher, and on the left is the eyelet setter. Yes, kind of
backwards, and not in order of use. Sorry, but I did not think of that at the time I took the photo.
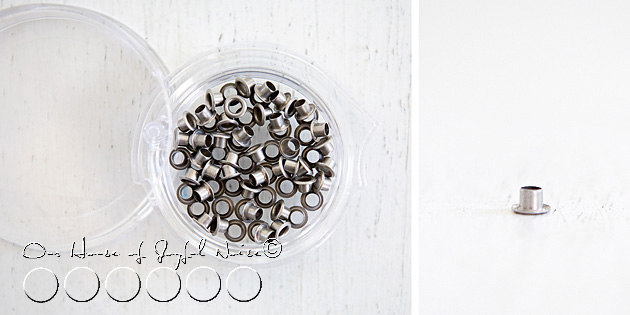 Here is a better look at the eyelets, before they are hammered. Cute little things.
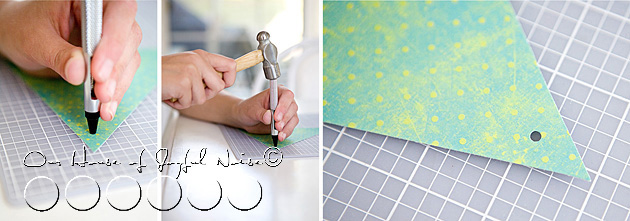 The first tool you’ll need is the hole puncher. Screw the hole punching tip into your handle, and position it straight up and down, on the material you want to put an eyelet through. In this case, I am just putting one in the point of a spare paper pennant I had, for the sake of demonstration. Also, you’ll want to work on a mat like this, a piece of cardboard, or something to protect the surface you are working on. So, holding the hole punching tip firmly where you want the eyelet, gently hit the top of the instrument with your hammer once. It taps a clean hole through the paper very easily.
 Next, place an eyelet in the hole you made, going in through the front of the material, and place it down on your protected surface.
Now it’s time to use the setter tool, to set the eyelet in the paper, by hammering & ultimately splaying out the aluminum tube.
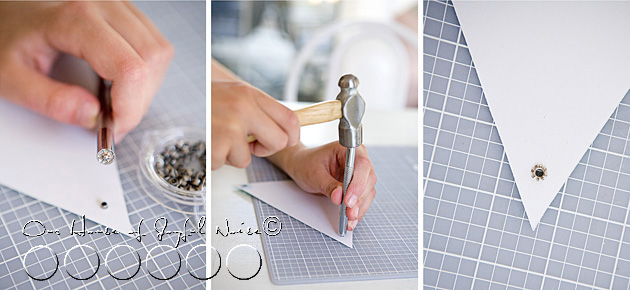 This is the fun part, I think. Take your setter tool, and put the point of it into the hole of the eyelet tube. Holding the setter firmly straight up & down, and being sure to keep it in in place, you are going to hammer the top of the tool several times. This time you’ll be hitting harder than you did before, while just tapping a hole through paper. Hammering the eyelet to set it, is something you’ll get a feel for quickly, as to how hard you need to hit the hammer, and how many times you’ll need to, to get the job done. Basically, your goal is to the splay the tube open flat, making it look flower-like.
I can tell you, the process of my eyeletting has a real rhythm to it. I hit the top of the tool four times, and then I remove the tool off of the eyelet, and hit the back of the eyelet on my paper a 5th time, to make sure it is good and flat. So the sound pattern is 4 loud hammer to tool noises, and 1 thud when I hit the eyelet on the mat. : )
((1))-((2))-((3))-((4))–(5)
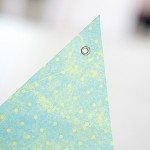
 That’s it! Here is what the eyelet looks like on the front of your material! It may seem like a lengthy procedure to you, explained so thoroughly here. But I assure you, it’s very quick. You’ll find yourself doing many in rapid succession. I would just tap all of your holes first, and then set your eyelets.
Eyeletting is popular embellishment technique in scrap booking and card making, but can also be used through fabrics as well.
I believe snaps are put on clothing much the same way.
I hope you found this tutorial helpful & inspiring!
Imagine the unique ways in which you can incorporate some eyeletting into
your creative projects!

I have done this before, with the exact same toolkit and forgot how…thank you for taking the time to post this. Clear, concise and VERY helpful.
You are so welcome, Peg! I am glad to know it was so helpful for you. Your comment really made my day. Thank you.
Happy embellishing, to you! Take care.
– Laura / House of Joyful Noise blog
Oh my goodness Laura this is awesome!!!!!! Thank You so much!!!!
I’ll let you know how I do. {{{HUGS}}}
Great tutorial, I have one of those eyelet setters somewhere so this will come in handy.