Incubation and Embryology of the Chick | Chick Coloring
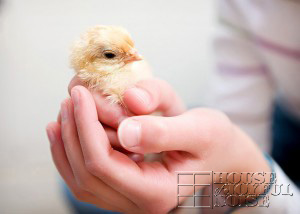
Although we have a small line-up of homeschooling posts about recent happenings coming your way, I’ve been inspired recently to take a little trip down our homeschooling memory lane, back to early 2007, when we did a study on chick embryology, incubated eggs and hatched chicks! At the time, the kids ages were 9, 4, 4, and4. So not only will you notice how young our kids look compared to today (now 12 and 7, respectively), but you’ll see how very unfinished our home was back then! Remember, Michael has been finishing all of the inside of our home himself. (With a little help and direction from me too.) As far as we have to go on this house, we can look at these photos and think, “We’ve come a long way, Baby!”
My brother, his wife, and their 2 kids, have a chicken coop, which began with an order of live chicks last year, I believe. But soon they will be receiving a batch of eggs, and will be incubating and hatching them themselves, for the first time. I am SO excited for them, and especially for my niece and nephew, to have this exciting experience! So much so, that we are itching to do it again ourselves all over again, since the our youngest kids are 3 years older now. The little ones would be able to get so much more out of the study and be a lot more hands-on, as {A} was for our first experience 3 years ago. It would be fun for the kids to compare notes with their cousins too. Nonetheless, with Easter coming in a few days as well, we thought it would be cute and fun to blog about our chicks. This experience in 2007, was ‘pre-blog’, so we never did get to share it with you all.

We picked up our order of 24 eggs from the Plymouth County 4-H on March 13 of that year. They have a wonderful Embryology Program, and supplied us with the eggs, an incubator (rented), a very informative book, a poster, and some feed.
–
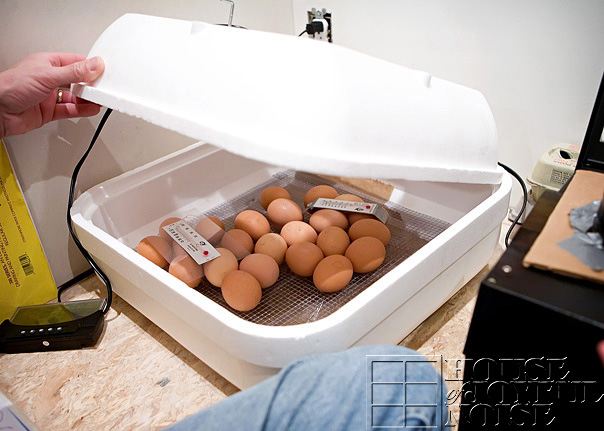
We got our eggs incubating right away. This process of incubation, to expected hatching would be about 21 days. The temperature of the inside of the developing eggs needed to be regulated at 100-101 degrees. So the goal of environmental temperature within the incubator, needed to stay within the 97-103 degree range. The humidity level was also a very important factor, and that was the hardest part for us!
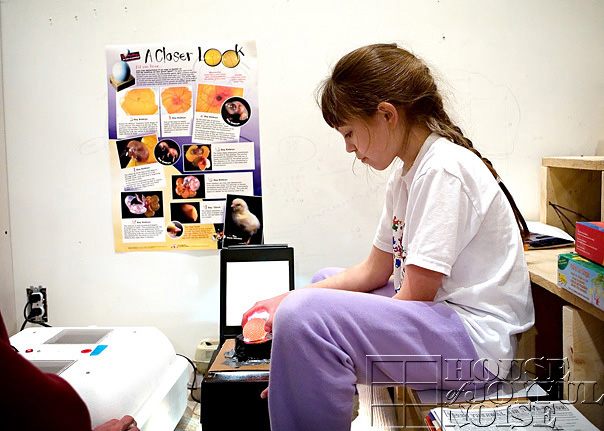
{A}, being the oldest and the most appropriate age for this project at the time, was the most involved in the hands-on activities . She did most of the rotating duties, temperature checks, egg observations, and kept records on everything on a daily basis.
The eggs needed to be rotated 3 times a day. Therefore, we marked them with an X on one side of each egg, and an O on the other. (We had XO eggs! lol). They were each also numbered, 1-24. These markings helped us be assured that every egg was rotated every time.
 –
–
Candling was a very interesting activity that was part of this project. This allowed the kids to observe the development of the chicks, without damaging them. This can be done on days 3,4,6,7,and 13. Michael created a make-shift ‘candle’ using a light projector we had.
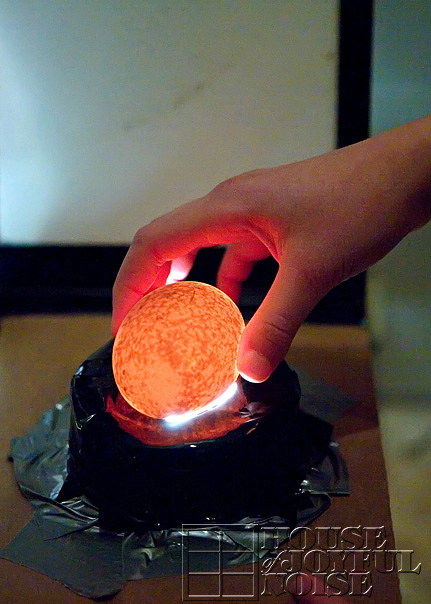
By holding the egg to the light, we were able to look for developments and progress inside of the eggs.
In the period of time in days 11-14, we had the option of giving our chicks some COLOR. This is a completely safe and harmless procedure for the chicks!! If it was not, we wouldn’t have done it! To understand this process more thoroughly or to get directions, please see (and save) this link: Chickscope. Another great link is here. In brief, this is done by injecting harmless vegetable dyes, into the albumen area of the egg. This is a pinhole break through just the very surface of the egg shell, at a specific area of the egg. In the following days, as the chicks continue to develop and grow, the sac that contains the color is naturally broken, and the chick is surrounded by the fluid coloring. This results in temporarily colored chicks. Michael performed this procedure, while {A} observed and recorded data. Unfortunately, I was away these few days at a professional photographer’s conference. So there are no photos of this part of the study. But the results are coming up!
Throughout the day on March 1, we could hear faint peeps from within the eggs! Talk about excitement! The next day, the peeps were a little stronger. We knew the time was drawing near, as we were just about at day 21!
Sure enough, very late at night on March 3, as I was exhausted and headed to bed, I took a last peek into the incubator, and lo and behold, an egg was hatching! I was like, “Are you kidding me? They are going to start hatching NOW?! As I’m ready to go to sleep?”. It was like both of my own labors, that kicked in high gear, right as I was most exhausted and badly needing a good night of sleep. So of COURSE eggs would start hatching at this time.
Still, the anticipation and excitement perked me up a little. I got {A} up and, the little ones, one by one, to take a peek. I put them back to bed after a few minutes, but I kept watch for awhile longer. It looked like it was going to be a slow process, and so thankfully, unlike my own labors, I was able to go get some sleep.
Early the next morning, we had 2 hatched!
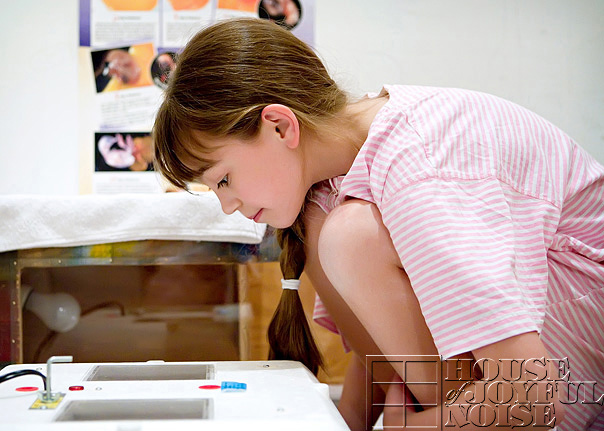
We could see that there was another, who had tried to break free of it’s shell, but never quite made it. We lost that one. But the 2 that successfully hatched seemed to be doing fine. One was a very dark color. He almost looked purple? Which was not a color we had used, so we were confused for a bit there. The other was green.
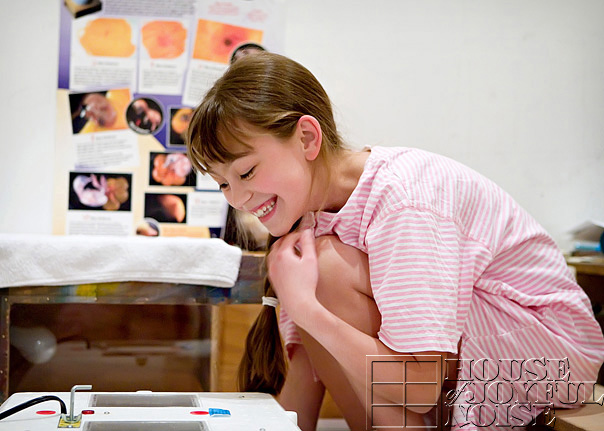
I was not able to take photos of the chicks very well, through the little cheap (no pun intended, lol) plexi-glass viewing windows, but they were sure fun to watch! They were flopping all over the place, and all over each other.
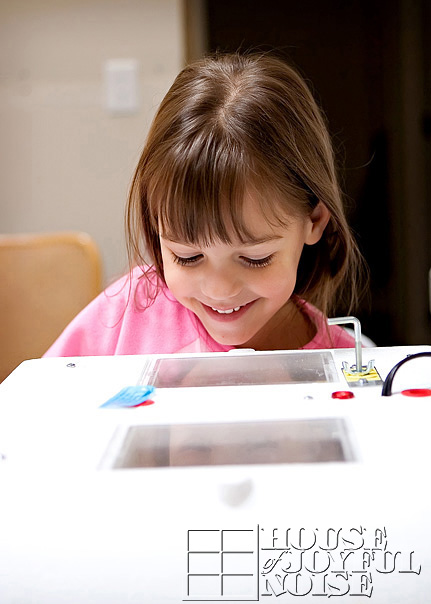
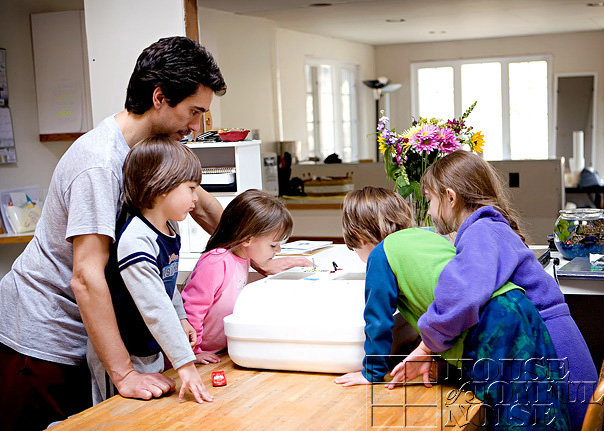
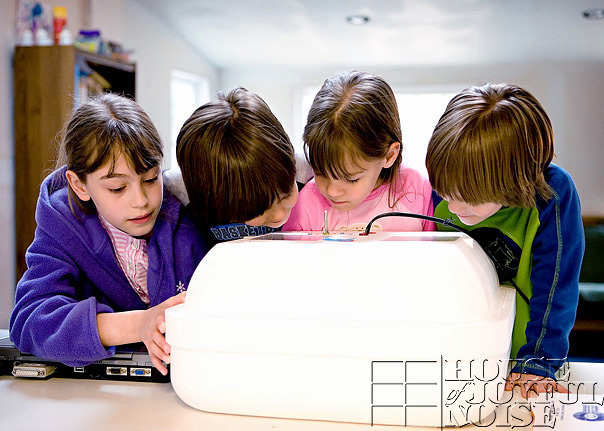
The kids were so tickled, watching for more activity with the other eggs, and watching the chicks that had been born.
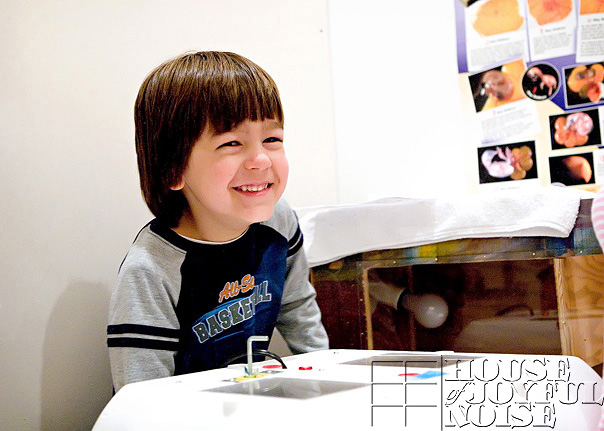
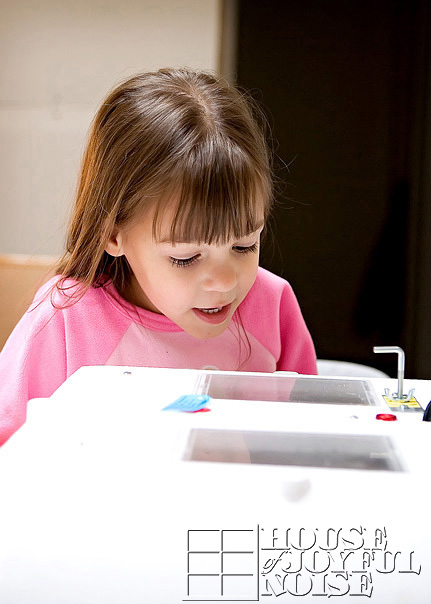
In the end, we had only hatched 4 eggs. To truly learn from the study, and understand the developments of the embryos/chicks, it was necessary for someone to break open and study the eggs that had not hatched. I could not do it myself. Michael took that task on. He and {A} took those eggs up on the hill out back, and dug a big hole in the ground. Then {A} sat on a stump, with her back to her Daddy, while he dictated the number on each egg, and the stage of development, while she recorded the data in her notebook. Then Michael buried them.
What they found, was some eggs were never fertilized at all. Some barely started developing, and for some reason didn’t continue. Others were pretty much fully developed, but had never hatched. It was all natural outcomes. That was probably the only unpleasant and sad part of this experiment.
Soon, the chicks were able to be transferred to a big sanctuary (Michael built), where we could really observe and enjoy them.
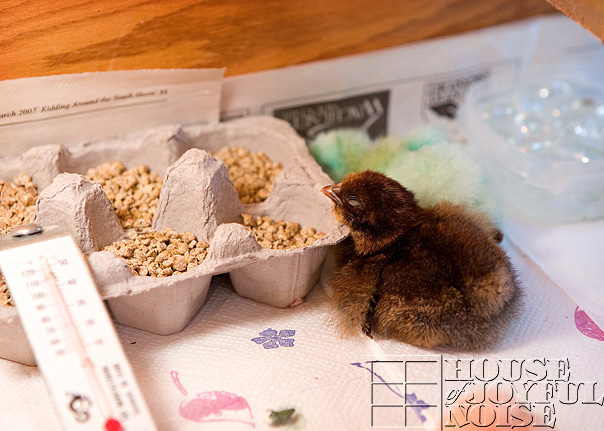
Once our baby chicks dried off and got fuzzy, we realized our dark chick was not a colored chick, but a rooster!
–
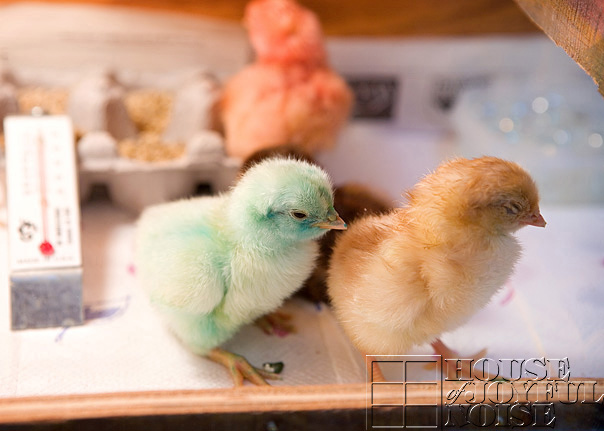
We also had a green one, a natural yellow one, and a pink one. One for each of the kids!! We did expect a higher hatching success rate, but we were glad to get some!
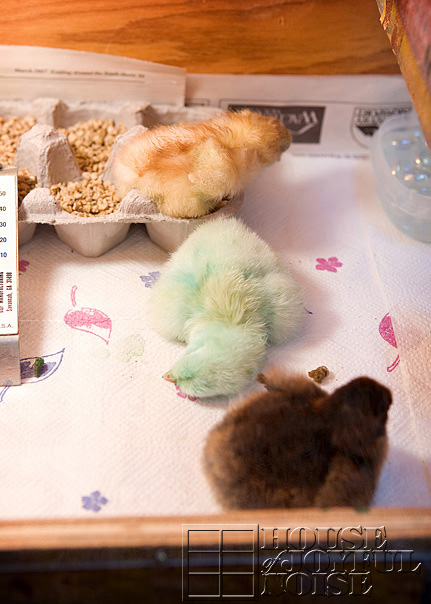
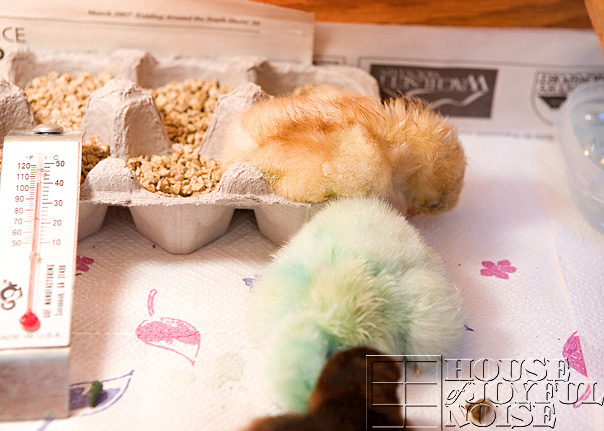
The funniest, and most entertaining thing about these chicks in their first few days, was just watching them gain their strength. They were so active one moment, and would suddenly just doze right off and plop where ever they were.
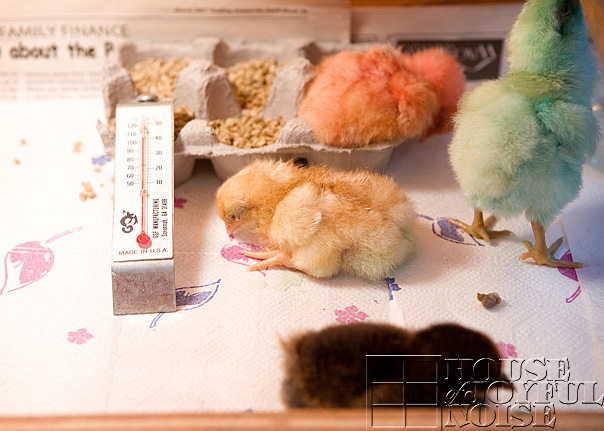
It was an absolute riot, to watch happen, over and over. Just look at these photos of them! A moment before, they were very energetic, then they would just wither into a nap, and the next moment be up and about again. We know some older folks, who do the same thing these days. ; )
 –
–
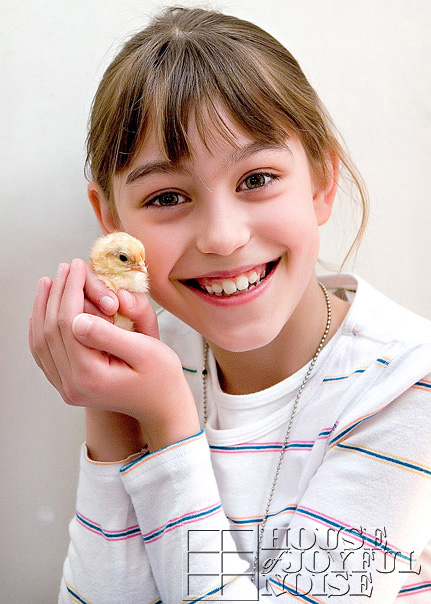
Soon, {A} was able to gently hold them one by one, although it was important to keep it fairly brief and keep them warm, and to always wash hands after wards! (The same was done handling the eggs.)
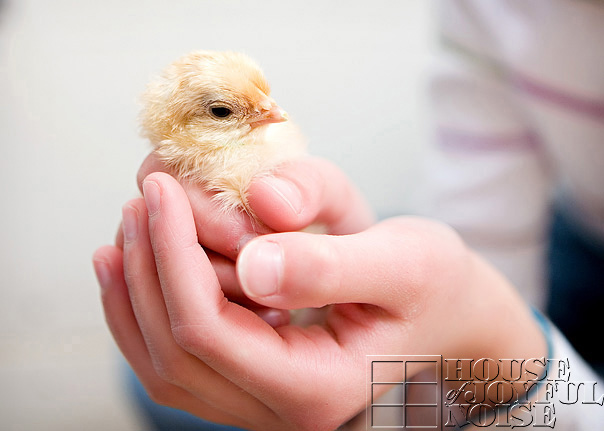
With each of the kids having their ‘own chick’, and knowing we wouldn’t be able to keep them much longer, I just knew a fun photo shoot, with the kids and the chicks in the studio, was in order!! So click on over to the Photography & Lettering section of this blog, to check out the portraits from that shoot, and find out the names of our chicks!! Not much to read in that post! I promise! Just photos to enjoy. See you there!!

There’s nothing more interesting and fun than incubating and hatching baby chicks! We have done this several times and there’s photos on my blog if you’d like to see them.;-)
@Samantha, lol. I think then, if they were colored AFTER they were born, I WOULD feel bad for the chicks. We wouldn’t have done that, if it was done that way.
@Paula – So the kids want to incubate some? Or have some to keep? Or both? We were tempted to keep them. They were so cute.
@Teri – I knew you would get a kick at seeing the kids so young. I think the boys would love this project too. I don’t know if you can color ducks too. lol
@Momto5minnies – I am sure your most local 4H does this too. It’s their embryology program, and they offer it to both schools, home schools, or any educators I believe. It was a fun, exciting, and unforgettable experience. I’m glad you enjoyed the post, and dropped by!
What a really cool thing to do. I loved reading about it. Wonder if our 4-H does something like that?????
Oh and I just want to hug and squeeze those little faces! They change so quickly… sooooo cute!
I have wanted to do this for a long time. The coloring of the chicks I mean. We have never actually incubated eggs either as we get day old chicks for the farm. But seeing the colors, really makes me want to get some to incubate for the farm. The boys would really dig having technicolor chicks. I wonder if it would work for ducks too. We have a dozen baby pekin ducks now and they grow so fast and move around so much more quickly than the chicks. It could be fun to see hot pink ducks running all over the farm.
The kids have been asking for two years for chickens. I’m sold.
Wow, what a great study! Who knew you could actually colour the chicks while they were in the egg? I always assumed it was done after.