While February, the ‘month of love’, was approaching throughout January, I had had this image in my head of a burlap pennant banner that spelled out LOVE, with little pink ribbons, over our french doors in the sun room, to the living room. Of course, I didn’t actually have one, so it was something I’d need to create. After pondering how I might go about doing that, I decided I wanted to keep it as simple as possible, even if it doesn’t hold up for subsequent Valentine holidays.
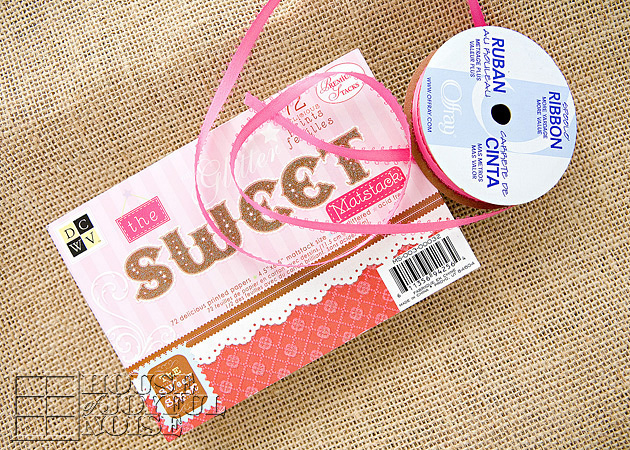
As planned, I got some burlap, for the pennants themselves. I’ve never worked with burlap before. Good-gosh does it stink! I don’t understand why. ??? I need to get educated on burlap I guess. I’m adding it to my list of things I intend to Google. But in the meantime, I hung the burlap outside for a bit, and even went so far as to FeBreeze it, so I could work with it. I could have used another material, but my vision, was the burlap. So for this project I used it, as well as jute string, a 4.5″ x 6.5″ pad of designer cardstock that contained a variety of pink patterns (for the letters), and pink satin ribbon.
I also used a few other supplies to make it as well, and I’ll explain in these easy steps as I go along here.
But before I do, let me show you how sweet it came out.
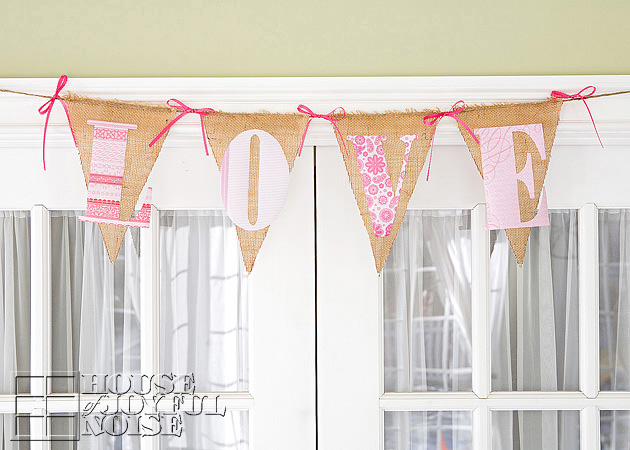
Kind of shabby-chic looking, don’t you think?
Of course this would be sweet with fabric letters, and would probably hold up for many more ‘months of Love’ and Valentine decor to come, but it would probably require some sewing, and I still don’t sew yet. I’m going to learn someday. But it wasn’t happening before this craft. So I used paper cardstock letters. Which does kind of have it’s own charm, I think.
This is how I made this rustic, simple, sweet little banner:
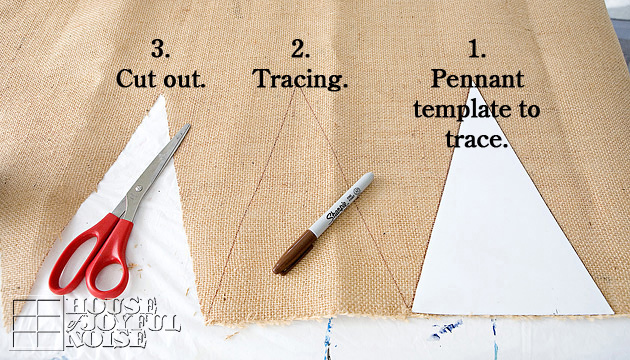
I made a template for the pennant, that measured 7″ wide by 10″ to the point. You can use cardboard as a template. My husband cut me a piece of sheet metal he had, but that’s not really necessary.
So using the template, I traced the pennants with a brown marker. I used the finished edge of the burlap itself, as the top of the pennant, to help hold it together as well as reduce my cutting.
1. Place pennant template at edge of material. 2. Trace template. 3. Cut out pennant.
4. To keep the sides of the pennants (the sides that form the V) from falling apart, because burlap is a weave, I applied a bit of matte Modge Podge just on the edges.
Modge Podge dries clear, and it worked like a charm.
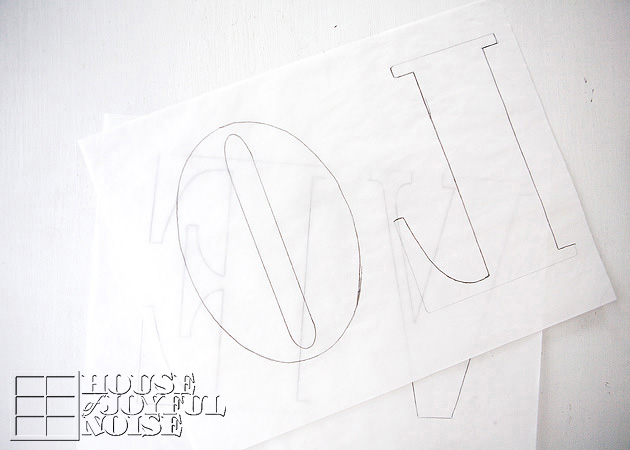
Using the small 4.5″ x 6.5″ pad of designer cardstock that I bought, I wanted each letter as large as possible. So I made each letter to fit a full cardstock sheet edge to edge. I just created the outline of each letter (4.5″ x 6.5″) in photoshop, and arranged two of the letters side by side on an 8.5 x 11″ standard space, and printed them out. LO on one, and VE on another. Then, I traced those printed letters onto tracing paper. Then, I arranged each letter tracing upside down on the backside of my little cardstock sheet (for each letter). Having done that, I had a backwards letter on the back/white sides of my cardstocks to cut out, so that when I did cut them out, they were facing the right way on the front. Some of the patterned paper is embellished and bumpy, so it was easier to transfer the pencil lines on the backside, and keep the patterned side clean as well.
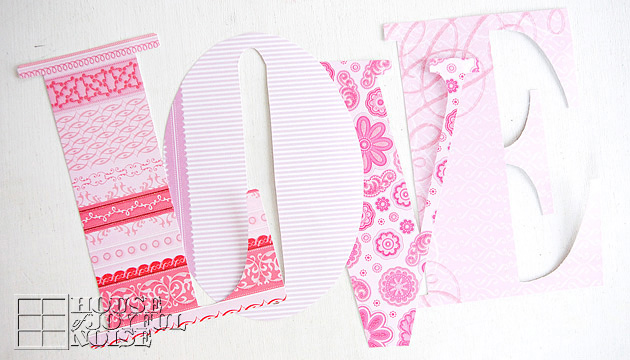
Here are my letters all cut out.
Again, the letters I designed filled a mini-cardstock sheet, so it reduced some of the cutting I needed to do, minimized paper waste, and gave me as large letters as possible.
Next, I wanted to string the pennants.
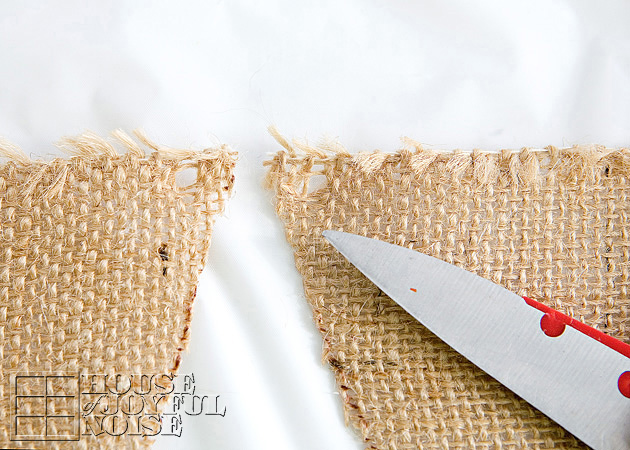
I planned to use jute string for this; another stinky material! I did not want to cut holes in the burlap at all, because it would simply fall apart, being a weave. So using the tip one side of the scissors, open, I just poked it into an existing hole of the burlap where I wanted a hole for the string, and gave the scissors a little twist. No cutting, but just pushing the fiber-string over.
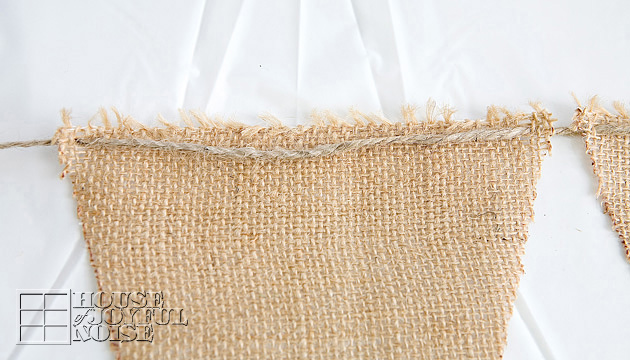 Then I strung a sufficiently long enough piece of jute through each pennant piece, as seen above.
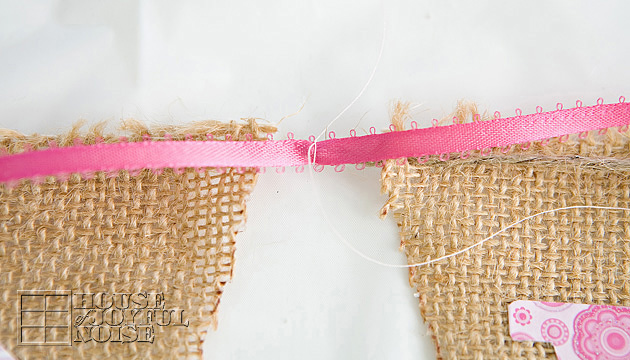 To add some touches of pink and pretty, I wanted to add some little simple bows. To do this, I first tied a little piece of satin ribbon onto the jute string in between each pennant, with a little piece of thread, and then cut off the excess thread ends to just leave the little knot. Then I tied a bow with the ribbon. The reason I tied the ribbon onto the jute string with the thread first, rather than just tying the ribbon directly onto the jute string, was so that my bows would not be sideways.
I did not take photos of this part, but to attach the cardstock letters to the burlap pennants, I used Modge Podge as a sort of glue.
I simply covered the back of each letter, and pressed it down onto each pennant. Although the letters created to extend beyond the pennants, I still Modge Podged the entire back of the letters, because I figured it would help give each paper letter that extra stability.
I let it all dry, lying flat.

Then we hung it up, right where I envisioned it to be.
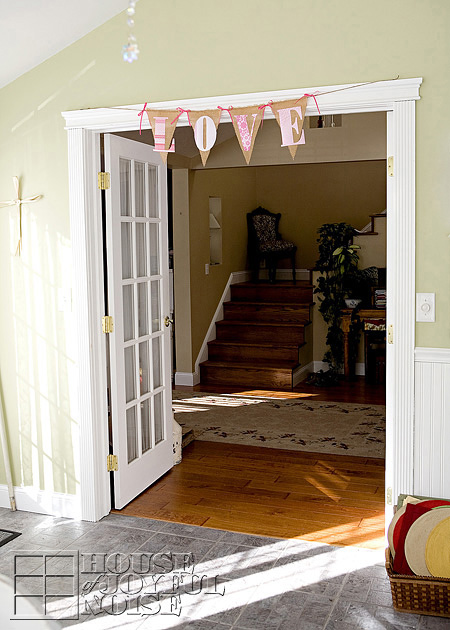
I think it makes for very cute Valentine decor.
It’s also made me start humming a few times,
♫ The Lord is mine, and I am His
His banner over me is LOVE . . . ♫
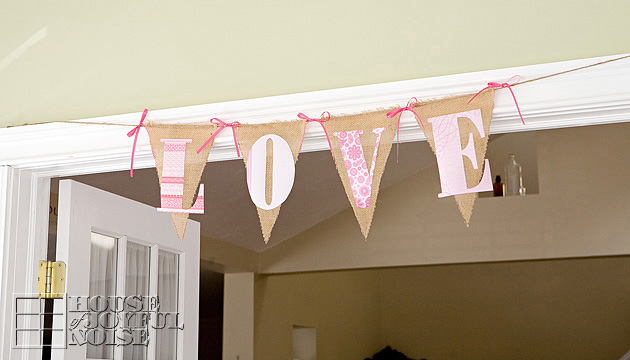
Sorry if that sticks in your head all day long, now! ; )
Hope you enjoyed this project, and it inspires you to make one like it, or one of your own design.
We’d LOVE your thoughts or a hello, if have another moment.
But know we’re always glad when you visit.
* * * * * *
Please come follow me here and there:


