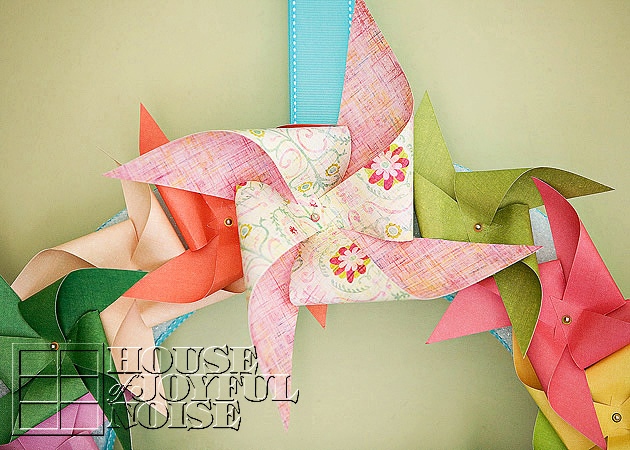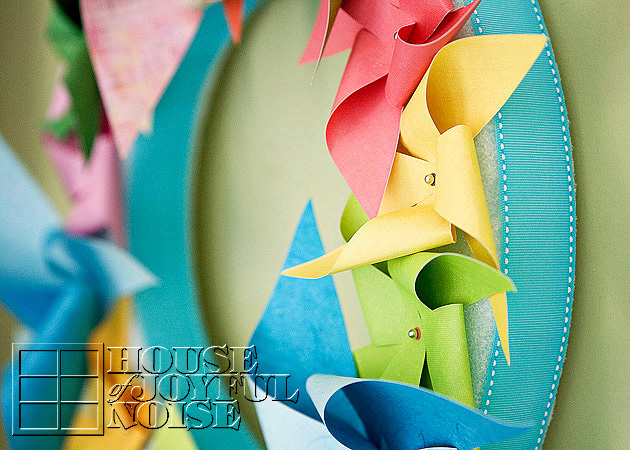
Is there anyone, who doesn’t love pinwheels? They are just so fun, so whimsical, and can give anyone that feeling of childhood joy as it spins, no matter how old we are. I am so smitten with pinwheels lately, that projects involving them just keep popping into my head! This idea of a pinwheel wreath, however, has been on my brain since last year! I wasn’t sure exactly how I would design it, but I figured it out as I went along, and the results just make me smile! Just like I knew it would.
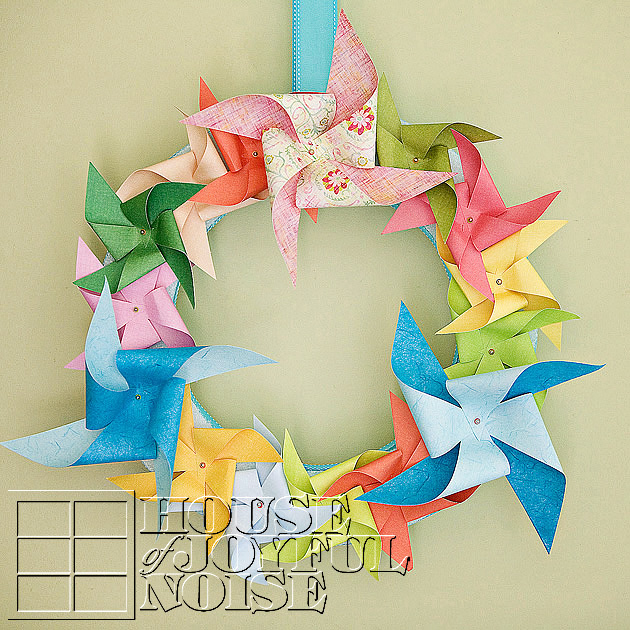
What do you think?
I found it fun and easy to make. They don’t spin, as this project was strictly decorative. But I’m already thinking about designing another one that works! For this pinwheel wreath however, I just wanted it to have a summer feel, with lots of pops of color, so I chose summer hues accordingly. But imagine all the different and fun color combinations that you could come up with!
Let me show you how easily I made this wreath.
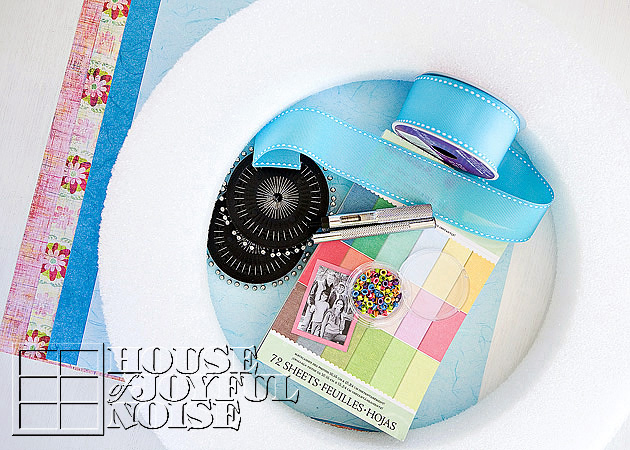
Supplies Needed:
**I got everything on this list at Michael’s Arts & Crafts**
- a styrofoam wreath base
- a pad of double-sided cardstock (called a Solid Mat Pad) -papers size 4.75 in x 6.75 in.
- 4 or less double-sided designer 12×12 in scrap papers you love (heavier stock)
- eyelet brads
- eyelet setting tool set (had in my toolbox)
- a small hammer (had)
- long pins (- with the ball on the end. I got metallic ones.)
Optionals:
- wide ribbon of choice
- scissors, or a Fiskar Trimmer! (Which I highly recommend as a constant craft tool I have!)
___
Next I am going to show you how to fold paper for pinwheels. But to start, you need your pinwheel paper in squares – size depending on how big or small you want your pinwheels. (You may want to experiment to decide that.)
The multi-colored pad of 2-sided paper I bought was 4.75 in x 6.75 in. So the easiest and fastest thing for me to do was to take 2 inches off, and make them square, at 4.75 in x 4.75 in. So I had a little pile of those cut to size in no time (with my Fiskar Trimmer), and ready to fold.
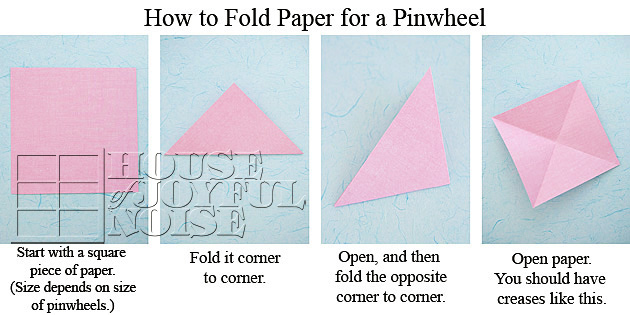
As you may be able to tell in the above 3rd frame photo, I did not open the paper to make the second fold, the first time when I photographed this. But you should…..it’s easier and makes a nicer second fold. I also zoomed in, so don’t let sizes fool you. But looking at the 4th frame, I am sure you get the idea of how the folding needs to get done. It kind of looks like a little square kite!
Next, is the cutting that needs to be done on the creases. Now, you CAN just use scissors for this! Just be sure to note where you need to stop cutting. There are 4 cuts on each square, and none of them go all the way to the center. But for mostly all of my craft paper cutting, I use my awesome (older model) Fiskar Trimmer. In case you have one, or are going to get one for this craft, I have made some labeled photos with directions and tips here below, of exactly how you can cut them all quickly and easily. I hope they explain well for you.
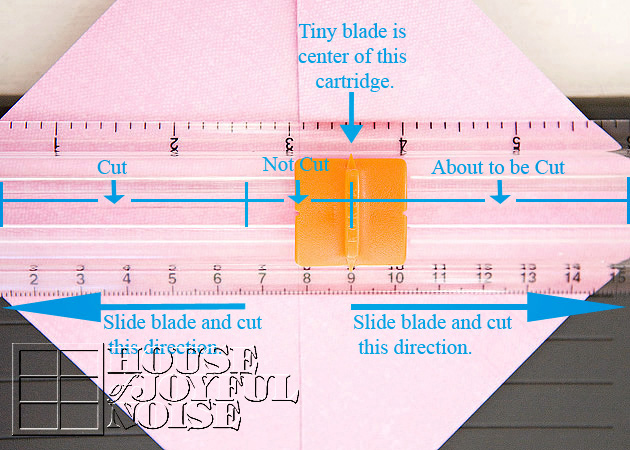
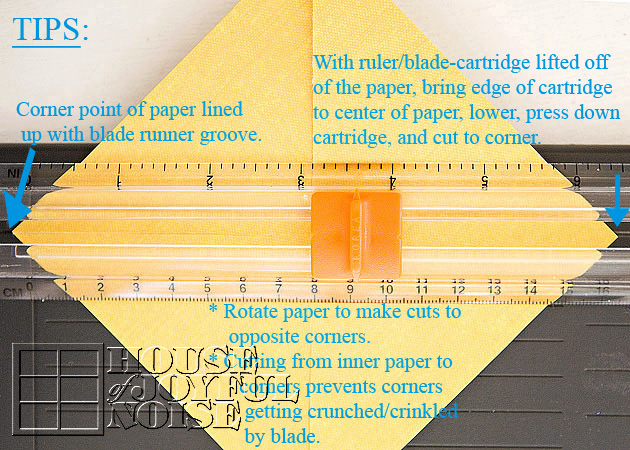 So if you just study these photos above and read the notes, you’ll find that cutting the square papers can be done in a zip! That’s what I love about the Fiskar Trimmer…….it’s fast, and the cuts are straight and perfect. I use it a lot!
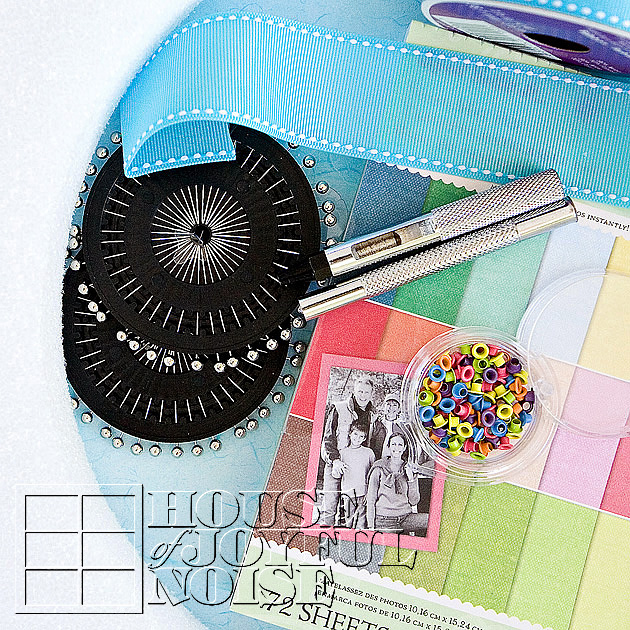 In this photo above, I’d like you to take note of the eyelet setter tool set, and the pins. I hope you are familiar with eyelet (brads) and the tools needed to set them? They are used a lot in scrap booking as well. In a nutshell….a tip makes a hole in the paper for the brad to be put in. The setter is used on the backside of the eyelet or brad, to ‘splay’ the metal open and hold it in the paper. You do this with a little hammer, and it’s fun! You’ll see how it looks finished in a moment.
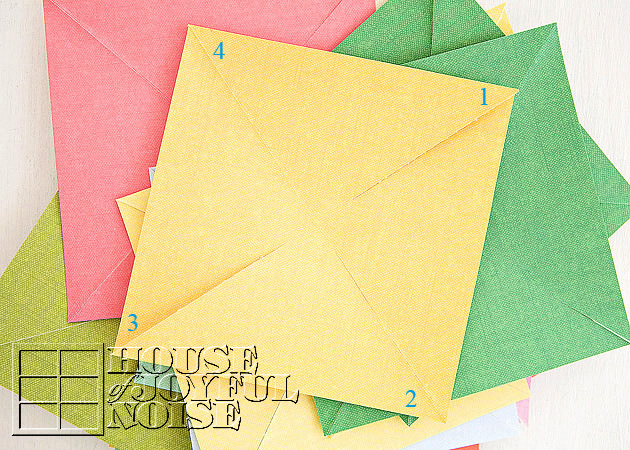 Here I have my little squares of paper all cut. When folding a pinwheel, you need to bring every other corner to the center of the square. So I have numbered them to give you the visual of that. Also, you can now get a good look at how the cuts do not go all the way to the middle, and about where they should stop.
I could not take photos of every step of this process, because it takes a lot of tight holding with very busy hands, and I couldn’t hold a camera too! But if you need to see how eyelet brads are set step by step with the hammer method, you can check this video here. There are newer tool sets out on the market, that set eyelets or brads with a spring-action tool, and another method as well. You will see the options at the video link above, but the hammer method I use is demonstrated.
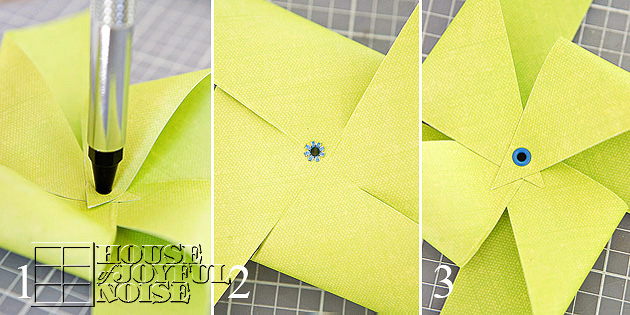
FRAME 1
Every other corner is brought to the middle, with the point quite passing the middle. Each corner overlaps the previous, and you really need to hold them all exactly in place. Then, taking your eyelet hole puncher, you tap out the hole with the hammer on the top of the setter. With 4 layers of paper here, you really need to hit it hard a few a couple of time! ALSO NOTE: Just like when using an ordinary paper punch, you don’t want to punch a hole off the edge of an of the papers. This can be tricky with 4 corners on top of each other! So be sure they are all in place before making the hole.
FRAME 2
The eyelet brad has been put into the hole, held in there carefully while flipping the pinwheel over, and the back of the eyelet has been hammered and ‘splayed’ (I like that word…lol) out, to hold the eyelet in place. Careful not to crush your pinwheel too much!
FRAME 3
What the finished eyelet looks like on the front.
Seriously easy as 1-2-3! (On repeat mode. ; )
–
OHHHHhhhh….It’s about to get even more fun, now!
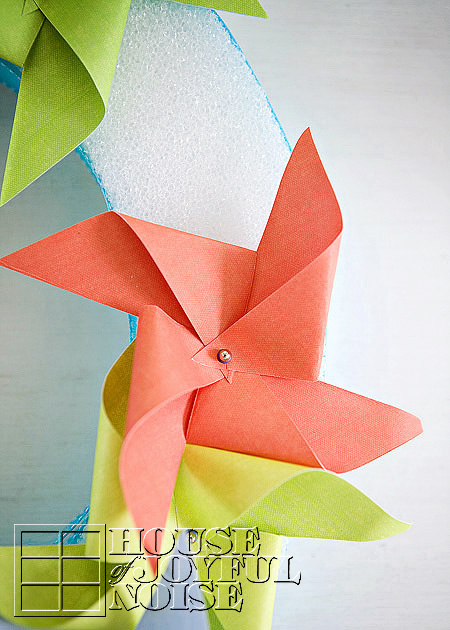
Taking your pins, and putting each one through the eyelet of each pinwheel, you can start pushing them into your styrofoam wreath! The pins can be easily put in and taken out, so you can really play and see what you think looks good to you. You’ll also get an idea of how many pinwheels you’ll need, and how many bigger pinwheels you’d like to use, if any. I added 3 larger pinwheels to my smaller ones. The larger ones were made with 12″x12″ 2-sided designer scrap papers.
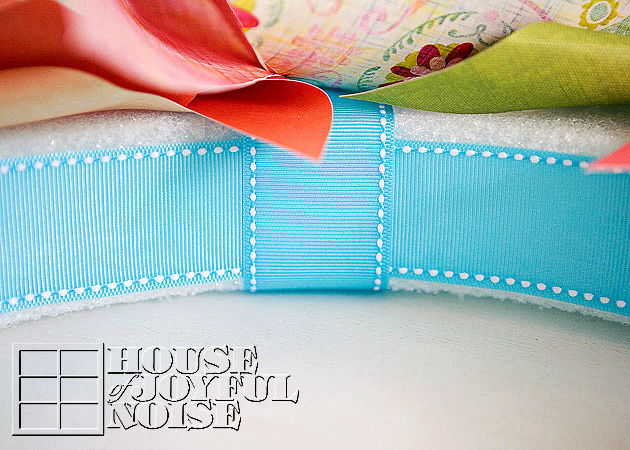 Before you get all of your pinwheels put in and in place just how you’d like it, you may want to add ribbon to the inside and outside of your foam wreath. I think the ribbon just makes the whole wreath look more finished. There are different ways you can do that, such as wrapping and winding around the wreath. But I had beautiful turquoise wide ribbed ribbon that laid flat nicely all around the inside and outside, so I chose to do that.
To attach it, I used E6000 glue. Maybe not the best technique. But I squiggled it on, and spread it with some little ripped paper and let it get a tad tacky, before laying the ribbon down. I was concerned it would soil through, but spreading it out and letting it set really helped, and it worked. You may want to use hot glue, or just pin it all the way around. I was thinking….my metallic pins would have looked pretty cool. Like shiny studs.
With the ribbon glued all around the outside and inside perimeter of the circle, I looped another cut piece to hang the wreath from later, before pinning all of the pinwheels in place.
And that is the gist of how my pinwheel wreath was made! Now you can just enjoy several photos of the finished project!
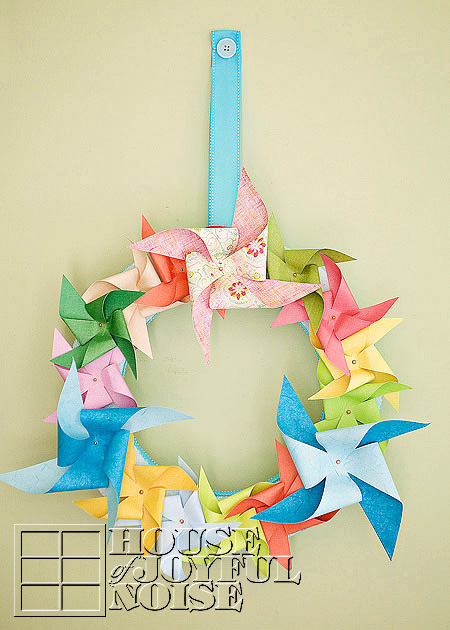
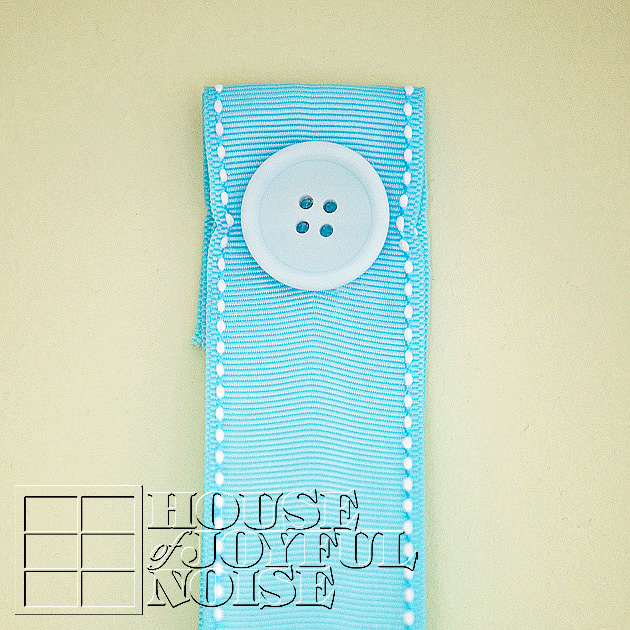
Ahhh yes…..My husband used a flat head nail, and nailed right through the ribbon to hang the wreath. Then, I just glued a big cute button on the nail head! Love buttons! I think it adds such a cute element, and I also really dig the white stitching on my pretty ribbon too.
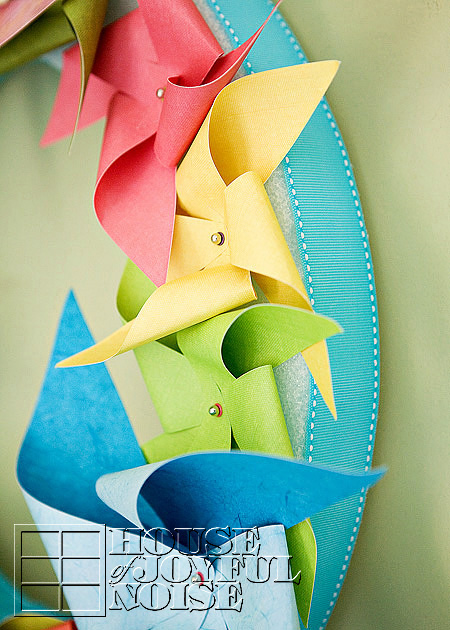
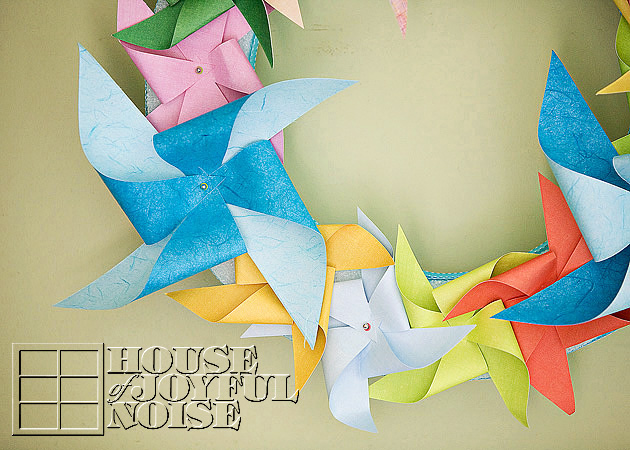
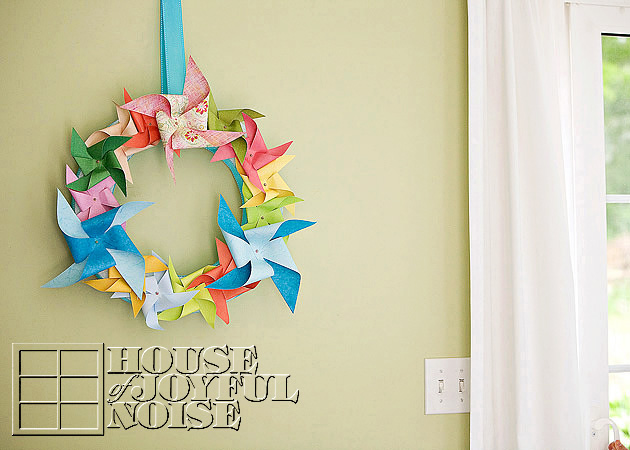 My summer-fun pinwheel wreath is hung in our sun room, as a fun and cheery welcome on the wall right in front of anyone who walks into our home through our front door. I not only love it, but our kids do too, of course! I hope you are inspired to do a project as fun as this one.
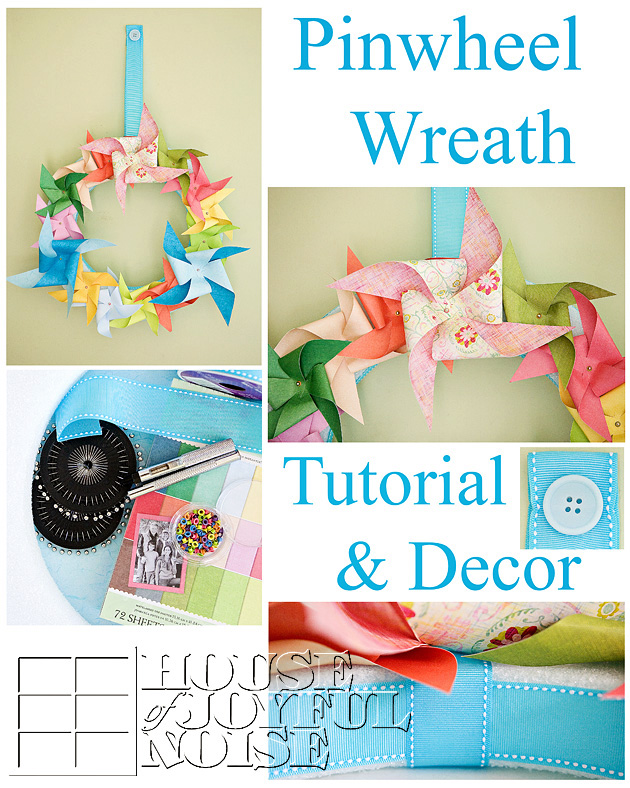 Speaking of pinning, feel free to pin this collage to Pinterest, if you are on there! I will be! We also have added a new ‘P’interest social button in the header, and I’d love it if you’d like to follow me on there as well!
I hope you enjoyed this tutorial. I invite you to leave me your thoughts or questions! Happy Summertime!
* Come follow us where you are! Or subscribe!
> Buttons at the top of the right sidebar!

