
It’s a new first, here at House Of Joyful Noise!
(And just so you know, this post contains an affiliate link.)
This is one of those opportunities, that I just could not pass up!! It’s not every day that we have someone come through our place, who knows her craft-stuff like this one! So without further ado…..
We’d like you to meet our first ever (and very special) Guest Crafter!
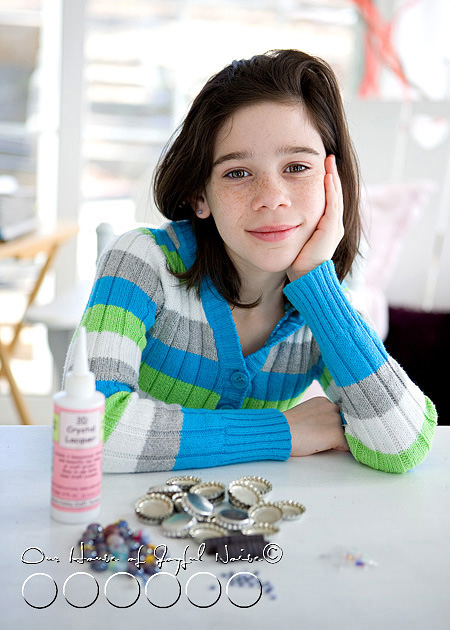
This is *{Ju}. She is my God-Daughter, and daughter of my cousin. I’m just seeing, in this photo here, that I think she was still a tad sleepy on this morning. Oops!! I was excited to get to our crafting! She is so sweet looking, sleepy.
*In Photography & Lettering, you can see the ‘Urban to Beach Photo Shoot’ I did with {Ju} and her brother, this past summer. She was such a doll, with her usual great big smile, and her brother has a great smile too! I can’t wait to show you their shots. I see now how much she has grown, since the summer!
But back to this craft post. We have had a visit planned with her for awhile, for her to come stay with us over her February school vacation, which just passed. She is a true little artist in the making, and spends lots of time crafting. So I had this exciting idea, to let her teach us a new craft, while she was here with us for a visit!
If you’ve been reading along here at HOJN for awhile, you may have read where {Ju} sold LOTS of ‘Capsters’ that she made with her friend, at a Harvest Fair in her own town. She definitely has the makings of a successful entrepreneur.
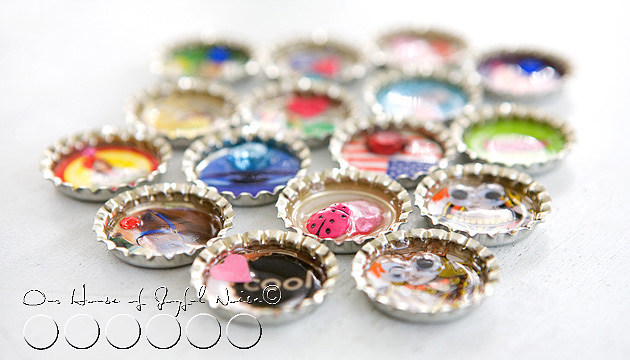
‘Capsters’ is the trademarked name to the Klutz company (who we will talk about in a moment), but are basically a ‘bottle cap art’ kit. Creating bottle cap art, is the craft {Ju} is going to teach us how to make, in this post.
–
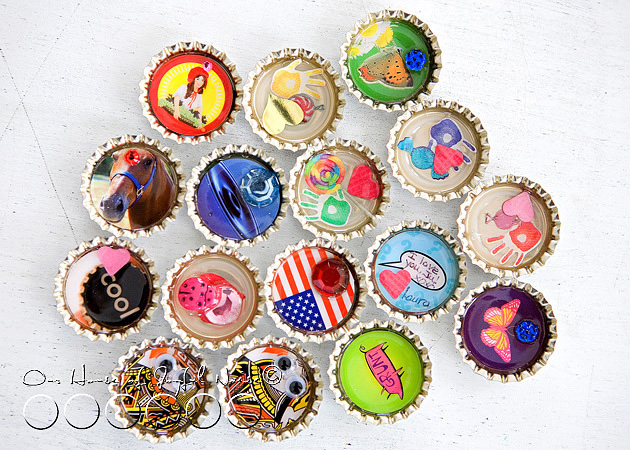 While the ones we made here today, are geared in design towards kids, I have lots of ideas to share towards the end of this post, as to how this can be a great grown-up craft too!
–
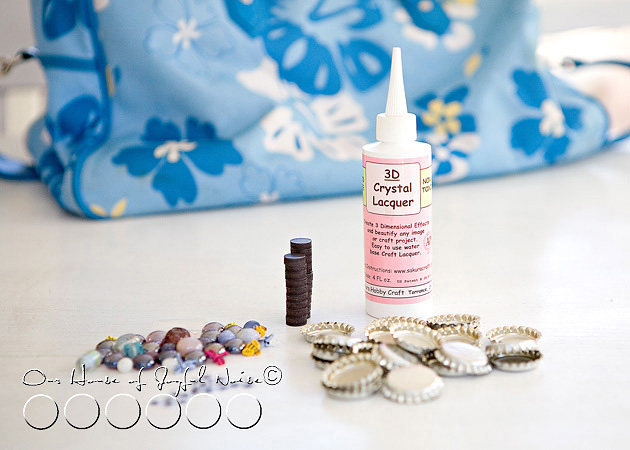 A couple of supplies you will definitely need, are clean bottle caps, and a crystal clear lacquer.
–
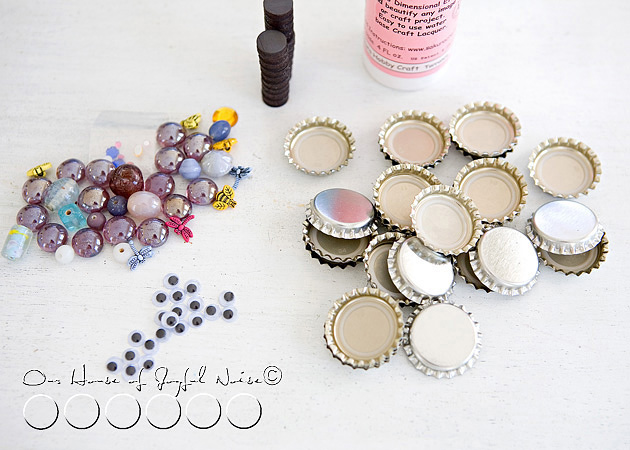 The rest of what you use to make your bottle cap art, is up to you!! It’s all about what you want to put inside your bottle caps. That may include some background papers (more on that in a moment), gems, googly eyes, or anything else creative that you can come up with, that fits.
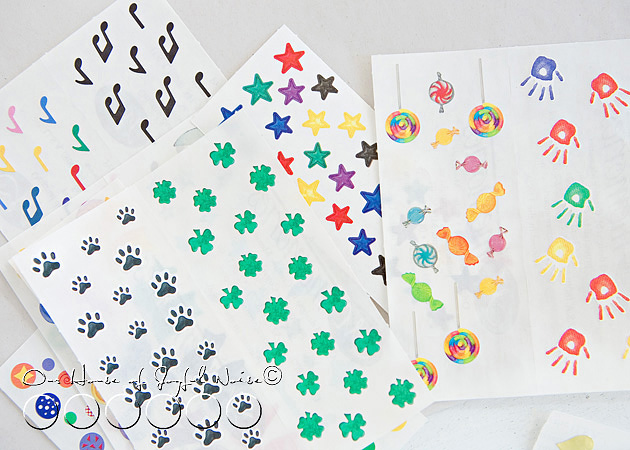 Little stickers, are another idea.
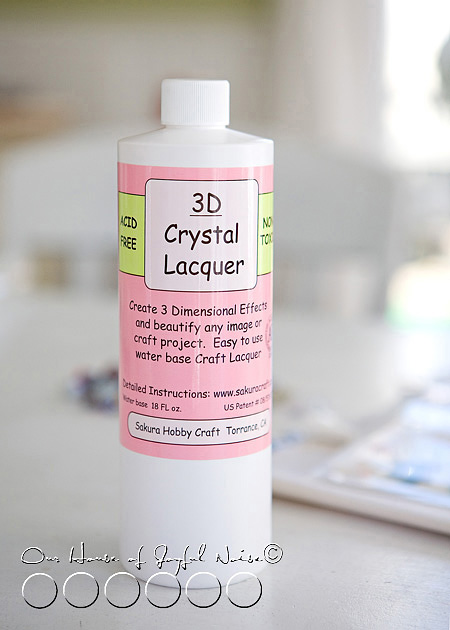 This 3D Crystal Lacquer is a necessary and amazing little product. You will see how it holds the contents of the caps in place, and dries like a crystal clear glass.
We’ll discuss the supplies, and where you can get them, also towards the end of this post.
–
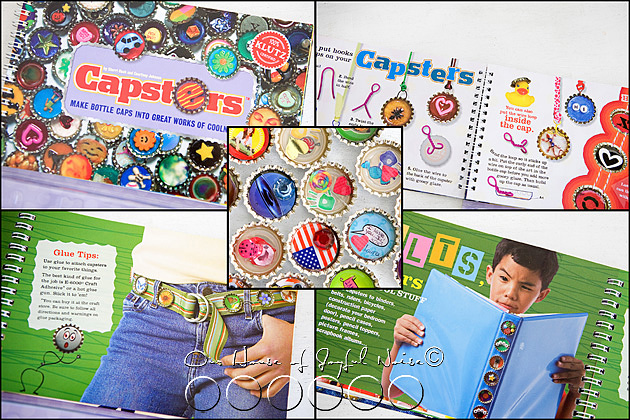 My oldest daughter got this simple and fun little ‘Capsters’ kit from Klutz’ (affiliate link) many years ago, and it is the same one {Ju} got too, when her mother told me she was making bottle cap art, and I suggested this kit to her. The book that comes with the kit, has pages and pages, of all kinds of other ideas, that they can do with the ‘Capsters’ they make, like jewelry, key chains, belts and notebook art, just to name a few. (I bet you could think of some of your own!)
It’s a great kit, for kids to start making bottle cap art with, for another reason…..
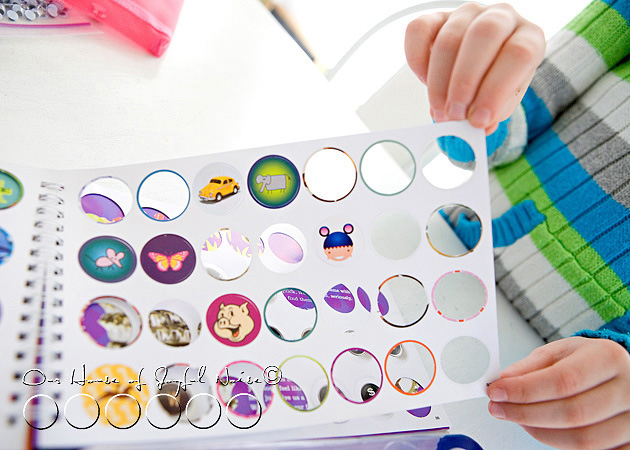 There are several pages, of perforated circle background art, that the kids can just pop out of the book, and pop into their cap. They make adorable caps alone! But {Ju} loves to embellish hers, with different colored gems, googly eyes, or other charms, too.
–
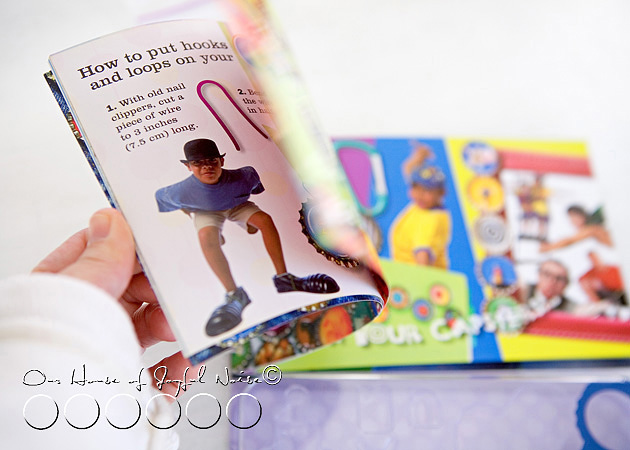 More pages of ideas, in the kit book.
–
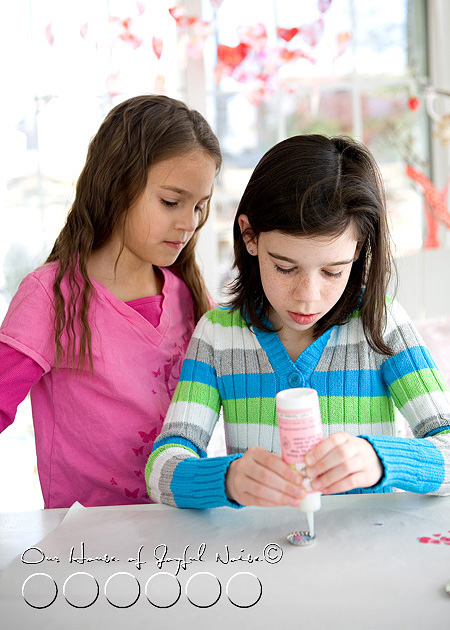
{Ju}, along with my daughter {O}, made several bottle caps, and she is going to show you the steps to this easy craft, right now.
–
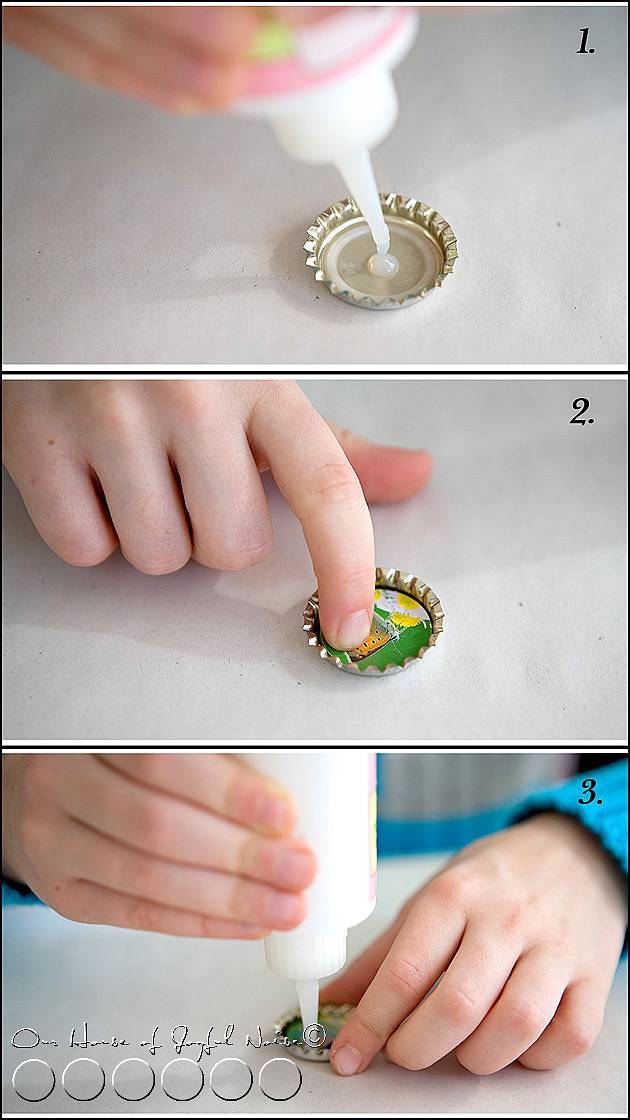 1) Start by squeezing some 3D Lacquer, into the center of the bottle cap. You want to squeeze it in almost drop-by-drop, almost filling the inner circle of the cap. 2) Add your background and any other contents, pressing it down all over. 3) Drop-by-drop again, squeezing it in very closely to the surface, covering the surface, and filling the cap about 1/3 to half, and being sure it is all covered evenly.
–
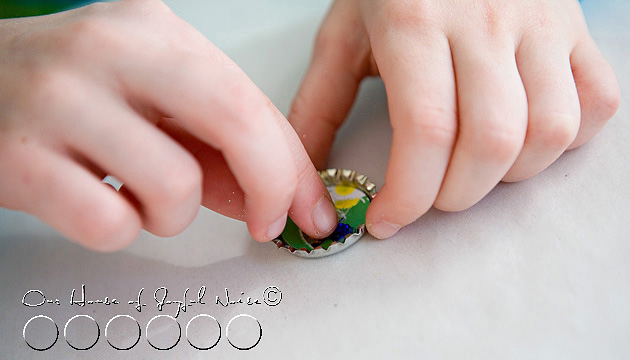 {Ju} actually added a little gem to this one, before adding the surface lacquer.
So to review again….
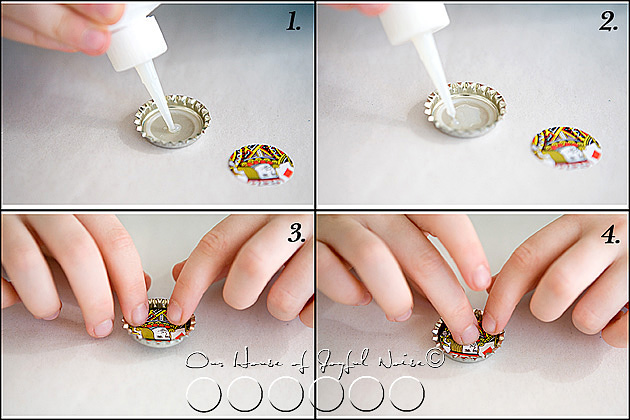 1) Add lacquer to the center of the cap,… 2)….spreading it out a little. 3) Place your background circle or other contents in,…4)… pressing it down well so that it will stick to the lacquer beneath it.
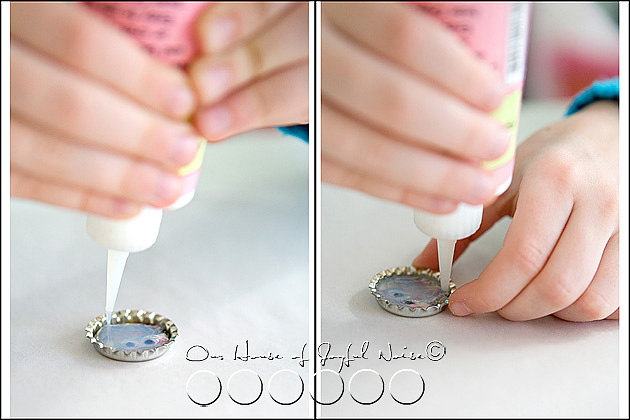 {Ju} added googly eyes to the king, because she is silly like that. 5) (not numbered) Then, she covered the surface well, with the lacquer.
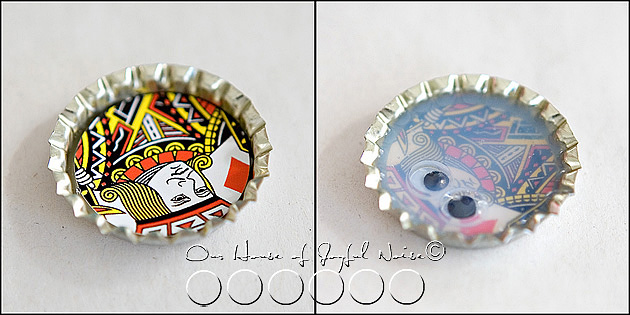 You will notice, that the lacquer is cloudy when dispensing. On the left, is the bare background, and on the right, is the background covered with googly eyes, and the lacquer. But have no fear!! This lacquer dries crystal clear, and glossy, just like glass. Love it!
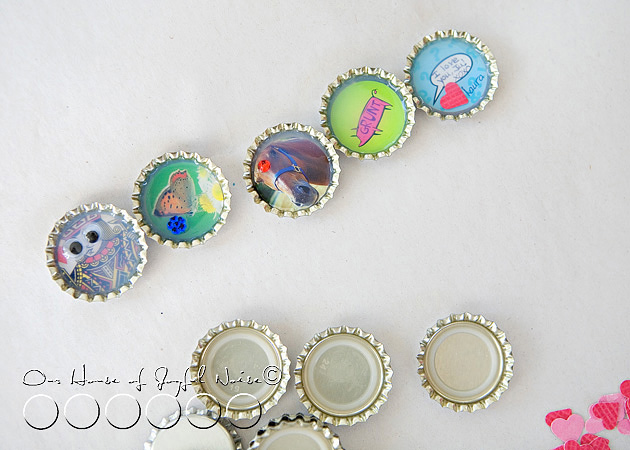 Here are a few more, that were just finished, and need time to dry.
* Allow to dry for 24 hours!! *
If you touch it before then, because it looks dry, you may leave a fingerprint before it’s truly a hard glassy surface.
–
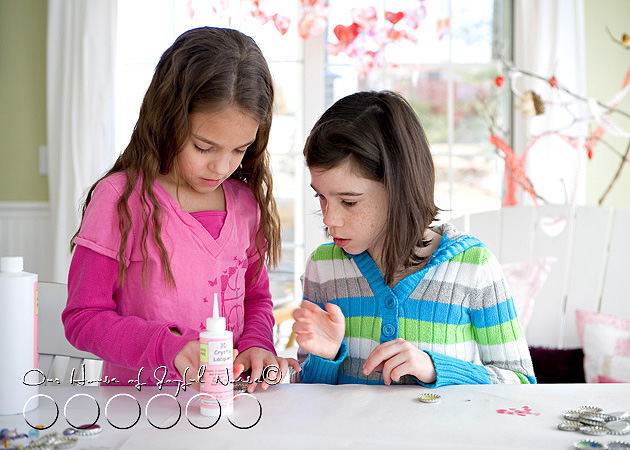 {Ju} letting {O} give it a try. She was a great teacher!
–
 Here is all of the caps the next day.
Bottle cap art is a really fun collectible!! You can also glue a magnet onto the back of the caps, and use them on your refrigerator, or office boards.
–
 This particular brand of crystal clear lacquer is Sakura, and can be found here. This is {Ju}’s big refill bottle. I believe Mod Podge’s Dimensional Magic, is the same type of product, but I have only been able to find it in a 2 oz. bottle, which wouldn’t last very long, if you are making lots of caps.
O.K., so here are some links to where you can get these supplies again – but feel free to do an internet search, or check your local crafts stores for other brands or better prices too.
Silver Bottle Caps – a bag of 144
* Klutz Bottle Cap Art Kit
(aff. link)
* This kit comes with everything kids need to get started. But be aware, that the bottle caps are white on the outside, and are marked with the Klutz logo.
Now, how about some ideas for Bottle Cap Art, for adults?
~ All kinds of beautiful bottle cap backgrounds, can be made with a simple 1″ circle punch, and scrap scrapbooking paper, stationary, greeting cards, the pages of a book……the ideas are limitless.
~ Any gems or charms can be used as well. Dimensional pieces do not need to be completely beneath the surface of the lacquer. It’s fine to put a coat of the lacquer over the piece, but letting the piece protrude from the surface of the lacquer makes the caps very 3D artsy.
~ Cutters, such as Cricut and Silhouette, are very popular with crafters now. They can be used to cut out any customized letters or designs, to fit in your caps. Consider putting a letter in each, on a pretty background, and then gluing/lacquering the caps together, to spell a meaningful word.
~ Perhaps some of your child’s simple artwork, or a photo of someone you love, can be shrunk down to put in a cap.
~ Dried flowers and leaves, would make a beautiful set! Dare I say, you could also preserve pretty small bugs, this way? : D
~Glitter is another element you could use, and there are also colored lacquers.
*Remember, your custom designed bottle caps can be used as art in many ways, and as many gift ideas as well.
The creative possibilities here, are endless.
Do you have any ideas of your own, that you can share with us in the comments? We’d love to hear more.
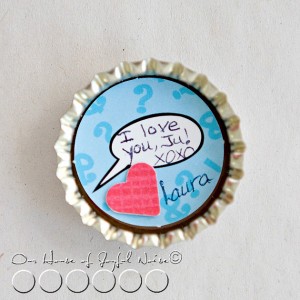
(This cap is not yet lacquered.)
{Ju} — Thank you so much, for teaching us all this craft, and being our first Guest Crafter! You did so great, and I’m so happy you love being creative, as much as I do! XOXOXO to you!!
* * * * * *
Please come follow me here and there:


