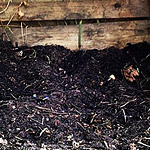
I’ve finally jumped. We have built a simple compost bin, for the purpose of learning some organic composting, and it’s (hopefully) already cooking.
com·post
/ˈkämpōst/
Noun – Decayed organic material used as a plant fertilizer.
Verb – Make (vegetable matter or manure) into compost: “don’t compost heavily infested plants”.
Synonym – fertilize – manure
For as long as I have been gardening, I have wanted to be making my own organic compost for our gardens. Because we all know that what one is trying to grow organically, is going to grow best in healthy, rich, organic soil, that derives from organic compost. While on the one topic I have learned a lot and made physical progress with gardening over the past several years, on the other, we have been buying compost in bags for the gardens. Reason being; every time I research and start reading about making organic compost, I get confused and overwhelmed with all of the info I am finding online. It just seems….complicated, and too specifically scientific, and . . . . I’ve just been afraid that while I have managed to make 4 beautiful and healthy children, I am somehow going to fail at making some good healthy dirt!
But then, I found myself inspired and encouraged, thanks to an online friend, when I came upon one of her photos she had shared oh-so nonchalantly.

As I was scrolling through my Facebook feed, this photo, with these words, from my friend Michele stopped me:
“Last year this was every corn husk, potato peel, orange rind, coffee ground, and veggie-gone-bad-in-the-fri
And that was it. I was sucked right in, and completely engrossed in finding out more. And so I posted to her status, and our conversation went like this:
-
Laura: Ok, you make it sound so easy. Why does it seem so complicated, with all these conditions needing to be just right, when I read how-tos, on how to make compost?
-
Michele: Seriously *LLR (*that’s what my friends all over the world call me), we have 2 bins right next to each other. We started filling one in the summer. Then the following spring, we switched to the adjacent bin and let the first one “cook.” Then the following spring, we had completed compost in bin one, emptied it by fertilizing the garden and such, and then that one became the one we fill that year. So each year we empty one while adding to the other, so we never have to pick through any debris to get to the compost. It is fully cooked and ready. We add plant clippings and leaves as well, but no silly calculated ratios – I do chop up longer stems though, into maybe 4-6 inch pieces for easier turning. The worms that have moved in there are a fisherman’s dream! We’ve used these bins probably 19 years.
-
Laura: OK, THANKS for the directions like that, Michele! I appreciate it, because I am all over this! We’re going to start tonight now. We’ll have corn husks as soon as the kiddos shuck it! LOL
Crazy that I get excited about compost, but I do! lolAnd I seriously had butterflies of excitement, about making a building a bin and creating our own compost, because I’m a freak like that. We did indeed keep the husks that night, from our always perfectly cooked corn on the cob.
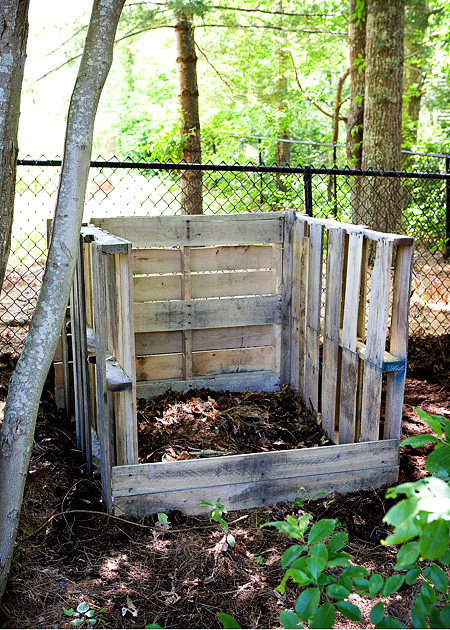
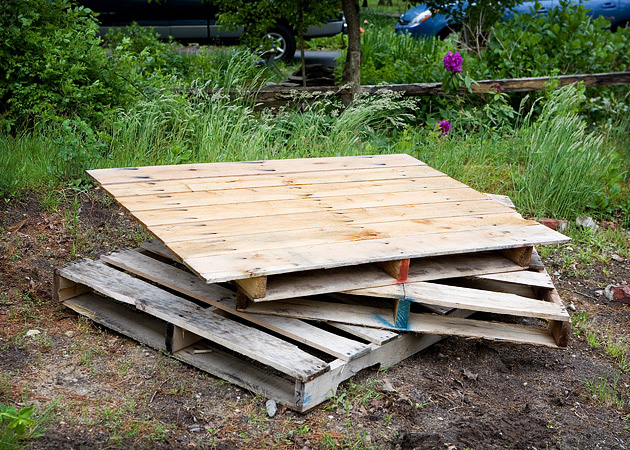 Then we got some palettes together for Michael to build a wicked simple bin to put up out back, asap. We always have an abundance of spare palettes around, and we use them for a multitude of purposes that come up.
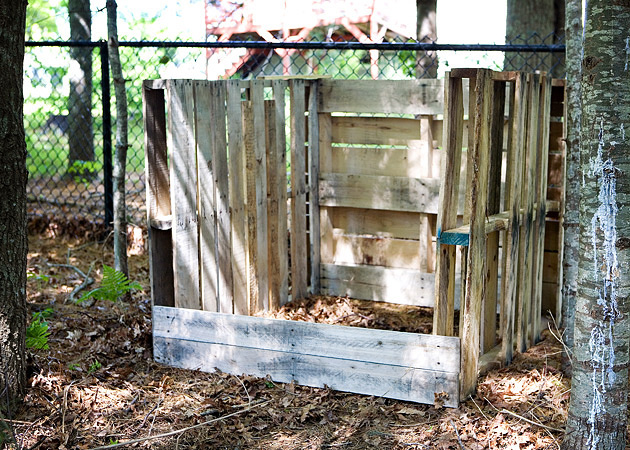 And here it is in our backyard, and next year we’ll place a second one right next to it, unless we upgrade our composting style to a faster process. (More on that coming.) This bin is in a fairly ideal place. I believe, anyway. Because I was inspired to re-research how to make compost, and gather more tips about how it works, and how to be successful in resulting in the more most beneficial soil. While this is not a thoroughly resourceful post for on all you might need to know about composting,I’m going to share some of what I have learned with you right now:
A Few Composting Facts and Tips
BENEFITS OF COMPOST – It’s important to know he reasons why you might want to make your own compost, if you are a avid gardener, or even have flower beds as decorative landscaping, around your home. You can find details on these benefits here at Earth 911 (poke around there too, for lots more help and info on composting) , but the simple list of the main benefits are to:
- Improve Soil Structure
- Increase Nutrient Content
- Use Less Water
- Ward Off plant Disease
….and there are additional benefits as well.
LOCATION/CONDITIONS – Keep compost pile in a warm area that is protected from direct sunlight, and shielded from winds, etc. It can have some odor at times, so you don’t want that to bother own family, or your neighbors, etc. You don’t want it to get too wet, or too dry. It’s a good moisture is it is as damp as a squeezed sponge. Turn over your compost with a pitch fork, every few days to a week, to add oxygen, which aids in the breakdown of your waste content.
So our bin is up t the back of our property, and is protected from the moving air that usually comes from behind the bin, up over the hill, from the ocean. It is also a mostly shady area, with only dappled light.
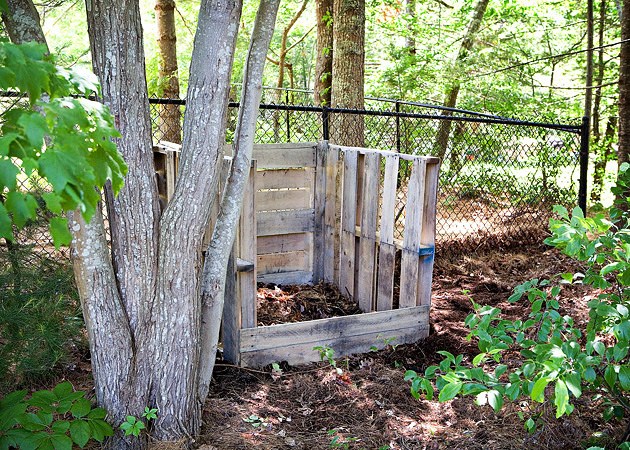 Making a great compost requires not only ideal conditions, but a mix of both green materials, which are high in necessary nitrogen, and brown materials, which are high in necessary carbon.
Here are some examples for both of these kinds of materials:
GREEN / (Nitrogen)
- vegetable peelings
- fresh manure
- coffee grounds (yes, it’s considered green)
- grass clippings
- hair clippings
*This is all great, because we eat tons of green vegetables, drink plenty of coffee, we mow the lawn, I cut the kids hair myself, and now I have one more excuse to ‘need’ to get chickens. They poop! Woot woot!
BROWN / (Carbon)
- brown leaves
- hay or straw
- paper
- egg shells
- tea bags
- saw dust and wood ashes } in limited amounts
*None of those are a problem to collect around here either. Although most especially, saw dust and wood ashes. Darn that we need to keep those to a minimum in our compost. But o.k.
Some Things to Avoid Adding to Composting Piles
- diseased plant material
- meat-eating animal manure
- dairy products
- meat products
- pesticides or insecticides
- plants that are invasive
- plants that have gone to seed
- cooked vegetables
- bones
- fish
- bread
…and I am sure there are more no-no’s. but there is a starter list, for your knowledge.
So, with using this method, it would likely take about a year, for the compost to be done and ready for use. But I believe turning it over with a pitch fork more frequently; say, every 3-5 days as opposed to a week, might help it be ready sooner. Another helper, is to cut up your waste into smaller pieces, before contributing it to your compost pile. It will break down faster than big huge pieces.
Now, if you really want waste converted to compost extra-quickly (say, in a matter of weeks), you might want to Google/research about that, and find out more about tumblers – either homemade or store-bought. Because the breakdown of waste, and the speed in which it happens, seems to be about turning it over enough, thus adding lots of oxygen for the process, as well as the right ingredients. From what (I think) I am learning, this creates an energy of some scientific kind of heat, that propels the process.
I just may ‘go there’ someday, and buy a tumbler of sorts, or make one myself. But as for now, I am pretty content just composting. It’s so ridiculous; the joy I get from going to turn over my compost, and check how my waste is breaking down. The kind of person I am today, gives me hope (in the light of raising children myself) that roots really do reap rewards, no matter how far down the road, or any rough middles. 🙂 I know when all of this stuff I LOVE now, was first instilled…….and oh-my-gosh…..another post is forming in my head. I have lots of ideas, and far less end-results, ever. But anyway……I hope someone can relate to my joys over nonsense, such as rotting waste bits.
Please. Someone. Anyone.
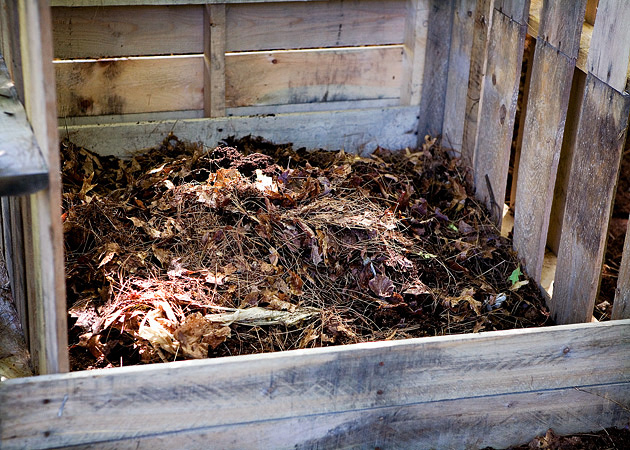 So how DO you know, when your compost is good, to use in your gardens?
That’s a good question, and one I had, and thus Googled, myself. And here is the answer I ‘unearthed’…..
(Oh my gosh…..sorry, I am dying laughing at my own jokes!! I had 4 sips of wine. HEY….it’s a Friday night…)
Good, healthy compost should be ready, when it is dark brown, crumbly, and has an earthy odor.
I can’t wait!! I’ll keep you posted.
And much thanks to my friend Michele, for the inspiration, that helped me face my overwhelmed sate, and fear of failure, to make GOOD DIRT!
* * * * * *
Please come follow me here and there:


This is on my to-do-someday list! I’ll be happy to have your brain to pick 😉 I wish I could start it now for our garden next Spring, but gosh we are just soooo busy with projects galore. I also wanted to get a garden going since we now have the room for it, but see previous comment. LOL! Can’t wait to hear all about yours though!
We may be moving, and I think we might have permission/room for a compost. I’d love to as we would need to add a lot of curb appeal to the house with landscaping. Free gardening for the win.
How exciting! Best wishes and prayers for a smooth & happy move, and…..permission/room for composting! Free gardening is always a win. Not to mention fun! -Laura