The slow transformation of our kitchen continues, and this is another one we are so happy with how it turned out. What a great big difference it has made, getting rid of our cabinets, and building custom open farmhouse kitchen shelving!
A Bit of the Back Story
In this project, we were actually undoing a change we made many years ago.
One of the many reasons we bought this house in the first place, was because it had a lot of floor cabinets in the kitchen, and none on the walls! I really didn’t want a kitchen that felt closed in by a lot of cabinets mounted on the walls, that I would have a hard time reaching anyway. However, it wasn’t long before we realized, the floor cabinets alone just didn’t provide enough storage for everything.
And so Michael bought basic ready-made cabinets at Home Depot, installed it on our one empty wall, and then added oak trim and handles to match the rest of the floor cabinetry . . . .
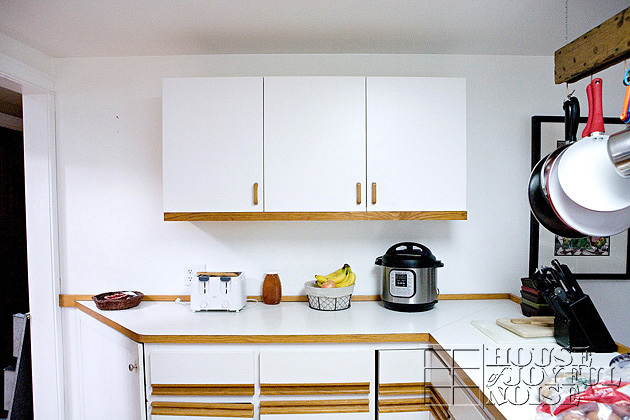 I really grew to hate it.
It’s been there for at least 20 years. As much as I grew to despise the look of it, it was necessary for storage, as far as I could figure, for far too long. The floor cabinets stored plates and bowls, glasses, pots and pans, and storage containers. And the drawers stored what drawers do, of course: utensils, herbs and spices, a junk drawer, etc. So the cabinet on the wall stored cereal boxes, crackers, rice, and that kind of thing.
I began to dream about open cabinets, with dishes and all in there. And I had come up with a good plan of how to rearrange everything in the kitchen that still needed to be stored. (Just put all that was up in the wall cabinet – cereals, crackers, etc. – down in the floor cabinets, when all of the dishes, bowls, etc. came out.)
But I wasn’t sure open cabinets was what I really wanted. Then I started thinking about open shelves. But as much as I thought about it, I couldn’t see in my head exactly what it would look like, that would look right in our kitchen. Until I did. However, explaining it to Michael was not painting a good picture for him. I was being clear enough in my description, but he just didn’t think it was going to look good. As I gave him the details, he kept questioning me, like….“Really?”.
It was unusual. Because you see, with any big or small home projects we have ever done, we have always planned the whole thing together. We most always have the same vision, the same expectations, and the same excitement. But this time….Michael didn’t see it, what he was expecting was not good, and he definitely was not excited.
This time, I had to ask him to just trust me, and build it like I’m saying.
And he did.
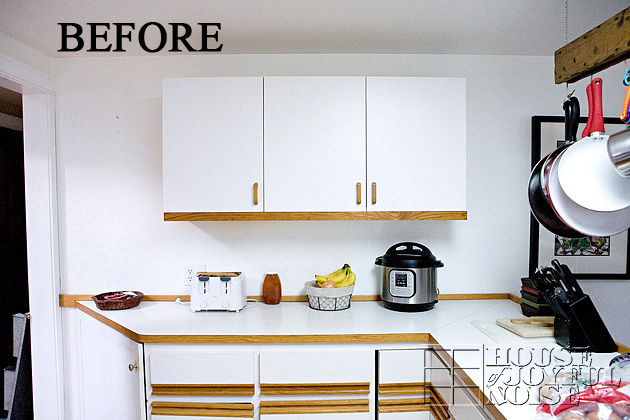 Good-bye, boring ordinary cabinets . . . .
.
.
.
.
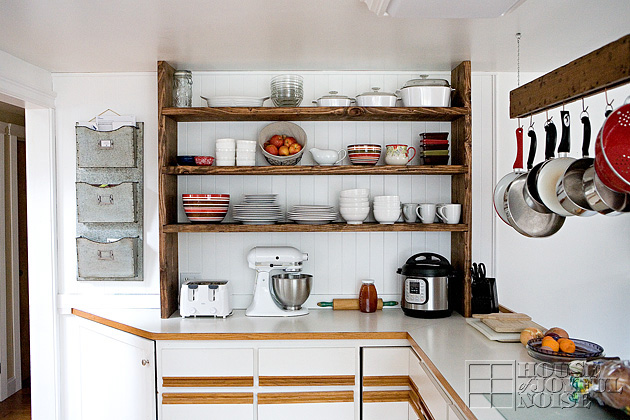 HELLO open farmhouse kitchen shelving!
If Michael didn’t start seeing my vision and start to love the idea, as he went along building, he certainly fell in love with it by the time I loaded it with our plates, pretty nested bowls, and all of the other dishware we use on a regular basis. Just like I imagined.
–
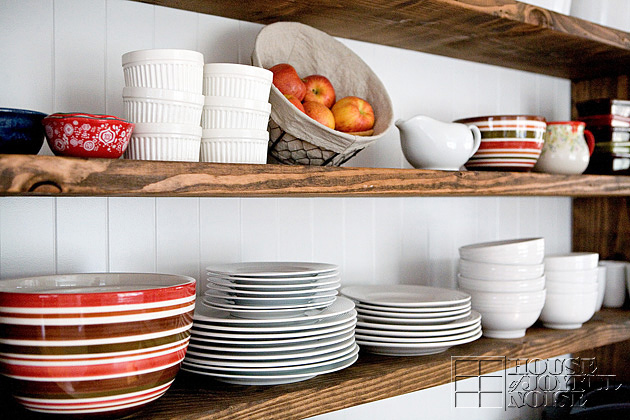 Actually, better.
So let us give you some more details on the project, and what it entailed . . . . . .
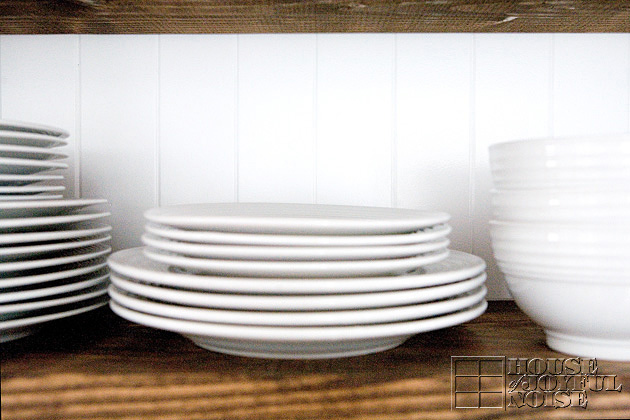 First, after removing the old cabinet, he faced the wall with v-groove beadboard paneling. I knew it would add a really nice touch to the farmhouse-style feel we were going for. It also falls right in step with the what we have going on in the rest of the house, with base half-walls in many rooms, as well as some already in the kitchen underneath the breakfast bar.
–
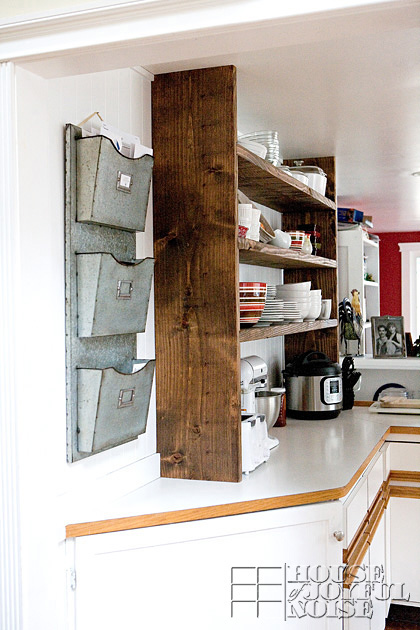
There is much to discuss on this photo above.
- The shelving was built with 2×12″ pine.
- It was built flush right against the wall, from counter to ceiling, and then the counter baseboard, and the ceiling trim was cut to fit around it.
- The whole piece is secured with L-brackets on the top shelf in the back corners, where no one can even see them.
- Before installation, the shelves were stained with Provincial oil-based, interior, wood finish Minwax stain. Love it. It’s what we had around, because we’ve used it on other things. It really brings the wood grain out.
- And, as a side note, I have to point out our metal wall filer! I mention it because I really love it. But also because we were talking about where we keep our keys, and mail, on our Facebook Page. So….that’s where.
–
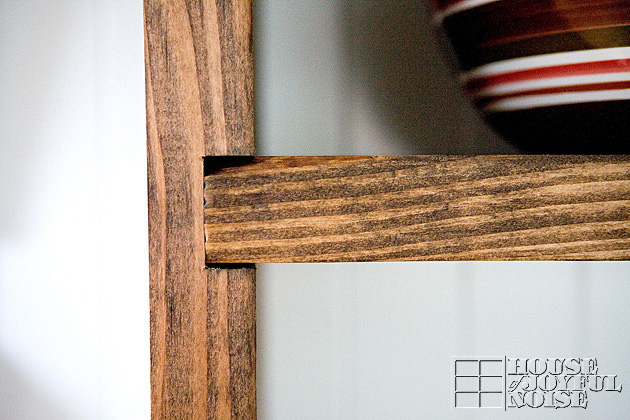 In these two photos above, you see how Michael notched the shelves into the standing end. And then also put a screw in through the outside, into the shelf.
–
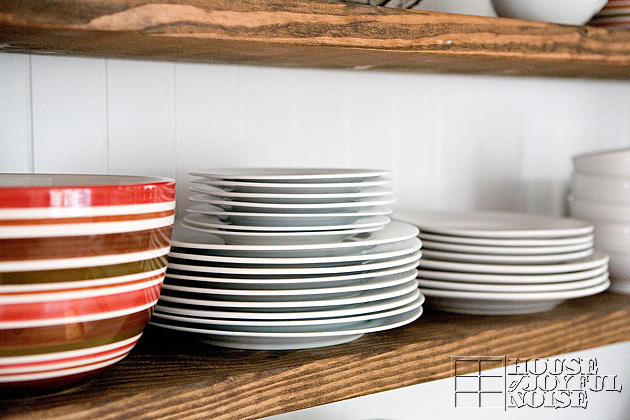 That technique is how it was built, from the counter-top all the way to the ceiling, with the solid pine and especially the notching of the shelves into the ends makes the whole unit tremendously strong, to support a lot of weight.
–
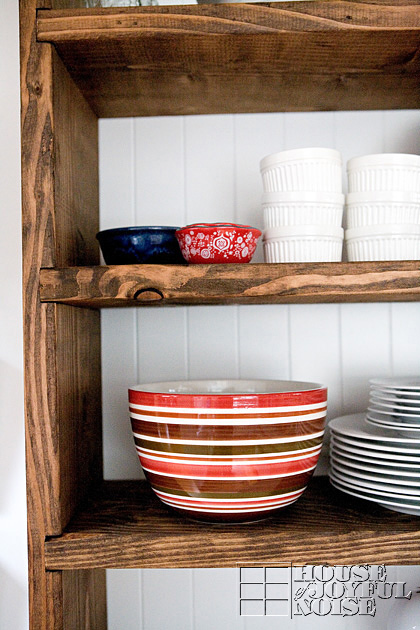
And there is a lot of weight to hold, with stacks of heavy plates, big nested bowls, and casserole dishes with lids!
The list goes on.
–
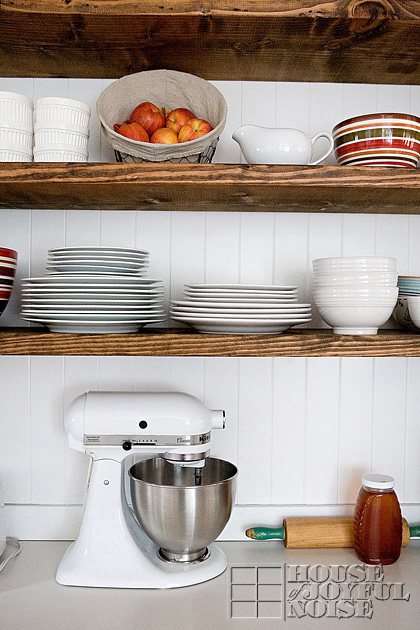
We were sure to have the first shelf high enough off of the counter to fit appliances and whatnot, underneath it.
–
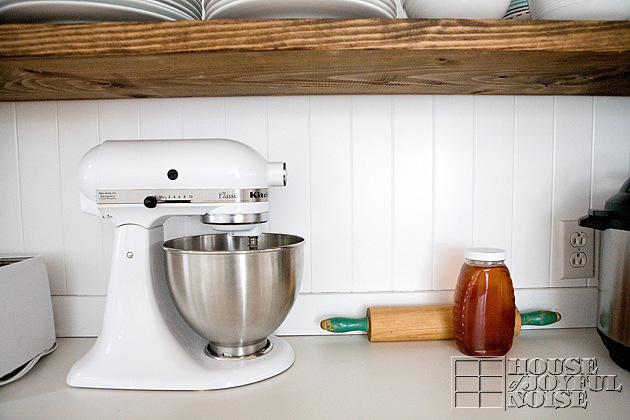 Especially, especially, my Kitchen Aid Mixer. Everything, everything….about this mixer, is still so special to me.
And not all of it has anything to do with baking, if many of you recall. I think of it all, every time I see it, and use it. And we see it, and use it, a whole lot.
–
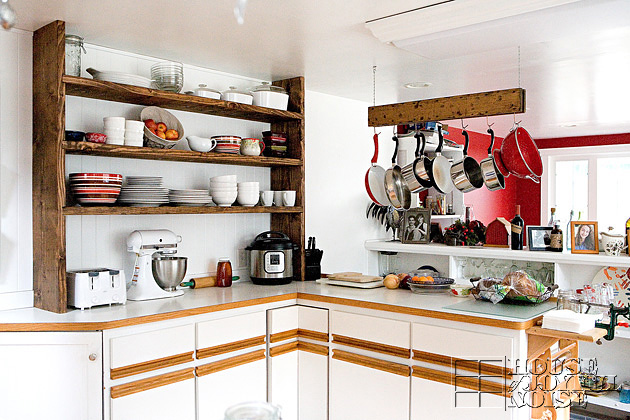 This view of our kitchen now, walking in from our sun room, and looking right through the breakfast bar opening, really makes me smile now. Unlike seeing that horrible cabinet, that made me cringe. In time, we will probably re-face the floor cabinets, and do that ourselves, too. But all I see right now, is how everything is coming together.
I may not have my gas stove yet.
But I am really, really beginning to love my kitchen, anyway!
If you loved this project-post, you may also love the other, much bigger kitchen-storage-solution-project we did, a few years back. You can see that HERE!
Thanks so much for coming to our House, to see the latest! We hope you enjoyed it.

The shelves are beautiful. I have a empty wall in my kitchen. Now I am inspired to build shelves too. Thanks for sharing.
Oh I love that so much! There is something about the notching that really gets me too! I’m sure I’d be more like Michael and be hesitant to do something like that but your vision was perfect!
Me too, Heidi! I know…I was really glad he took the time and effort to do the notching. Aside from the strength and stability it gives the whole thing, it really has a more finished look. Like every project, Michael went above and beyond my expectations. I’m wicked happy with it. Thanks so much for checking it out and leaving your thoughts. 🙂 – Laura (and fam!)