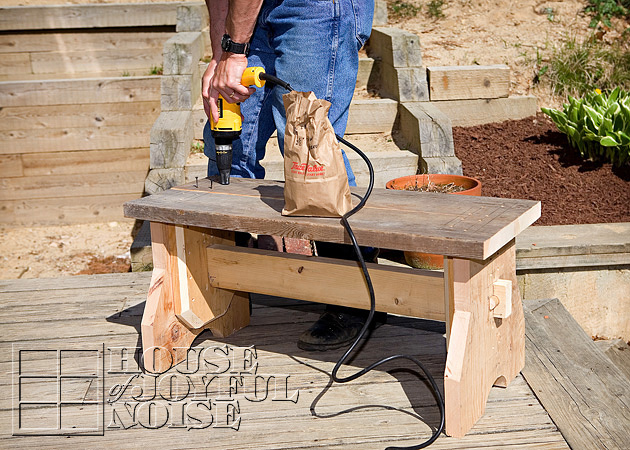
For those of you who have been following our blog for awhile, you’ll know how this post is a little late coming. The project was done quite awhile ago – we just didn’t get to posting the last part of the project. Not sure if anyone has literally been following this project to build a bench of their own anyway. If so….we’re sorry!!
For the rest of you, who may be new to our blog here, or missed these project posts before, we can catch you up with links, and a brief explanation: We were using a silly footstool at our wood stove over the winter, to sit upon as we loaded wood into the stove, or poked the fire some. Eventually, I had mentioned that I thought Michael should build us a real rustic bench enough times, that he got to sketching.
Here are Parts I and II of this project:
How to Build a Wood Stove Bench – Part I
How to Build a Wood Stove Bench – Part II
So, where were we? Oh yes. Michael had completed building the bench, and it just needed to be sanded some, primed, and painted. (And I prefer….sanded a little again, for that older look.)
The primer we used was a mixed color that, actually, was not quite the color we were going for. I wanted a medium brown that had some gray in it. But it came out looking more like…..medium gray-brown with some purple in it?
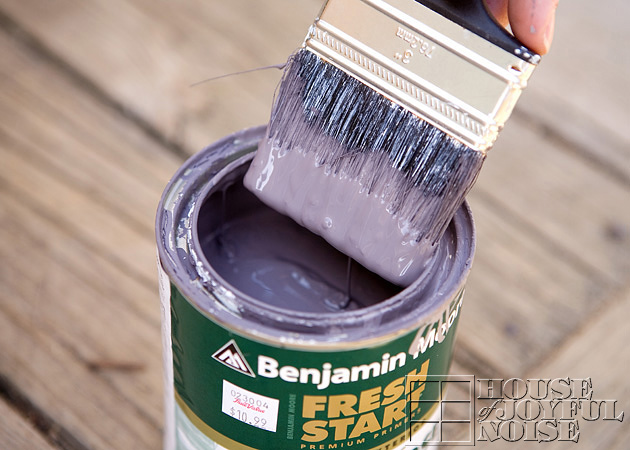
It was a Sunday when we had gotten this primer. Michael had them mix it up at the little local hardware store. By the time we popped open the can, the store was closed. We had gotten the primer that day, for our unfinished farm table we had gotten for the sun room. I was eager to do the project that day, so we used the primer anyway, and it turned out to be fine.
Like the bench, we were painting the table white anyway, in the end. The reason the primer color mattered any, was because I like to sand the corners and edges of the piece of furniture, to give it a worn old look. Most times we sand right down to the wood anyway, but in parts the primer does show. But it is so subtle, you couldn’t pinpoint the color.
So, after a quick sanding of the bench, Michael got to priming. It wasn’t important to us to have it super smooth, so if it would be to you, you’d want to put more time into that, until it is as smooth as you’d like it all over. We pretty much got right to priming.
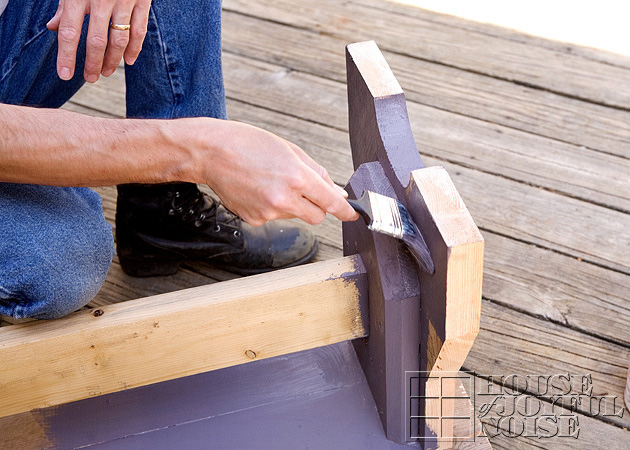
Once it was primed all over, and the primer had dried, he filled in the screw holes some with filler, and got to painting it white.
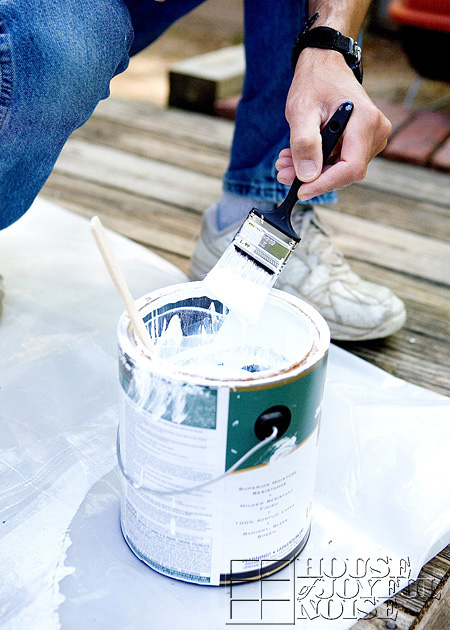
I helped, with a brush of my own, in between taking photos. : )
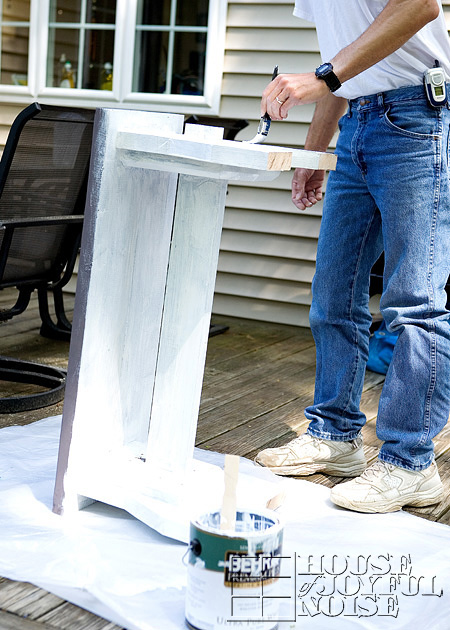
Once it was painted all over, dried, and got a second coat dry, Michael sanded the edges and corners some, to make the bench look older and worn, as I had told him I wanted.
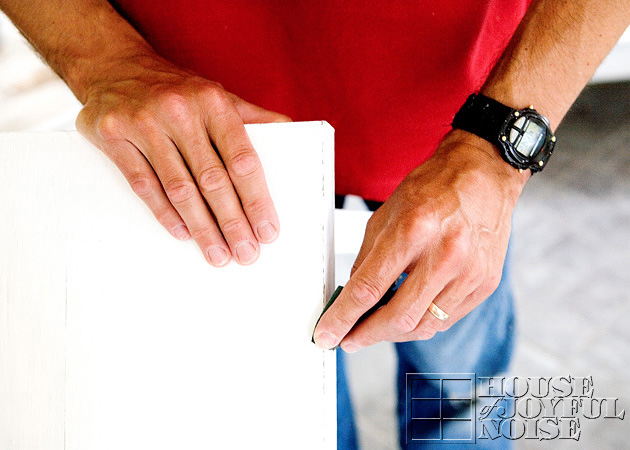
And when he was all done, I did it again. : ) He just wasn’t aggressive enough for me. I wanted it OLDER and MORE WORN than he had accomplished. But ….it’s a preference thing.
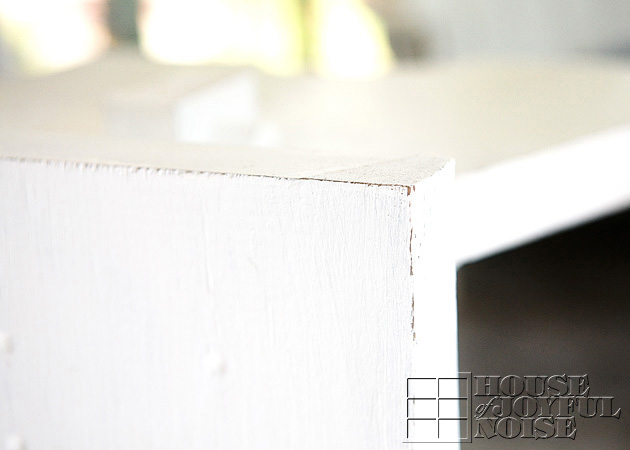
That’s better!! We did the same with our farmer’s table in the same room, so they kind of go together.
So now, the bench was finally done, just in time for……………SPRING?? lol
But, we did have a few very cold and rainy days and nights in early spring, that we got a cozy fire going.
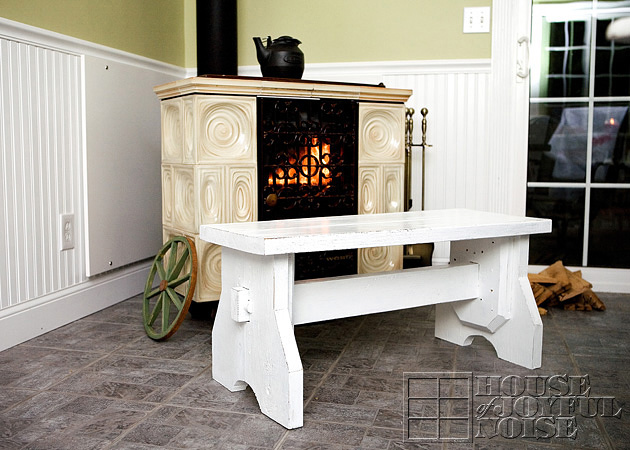
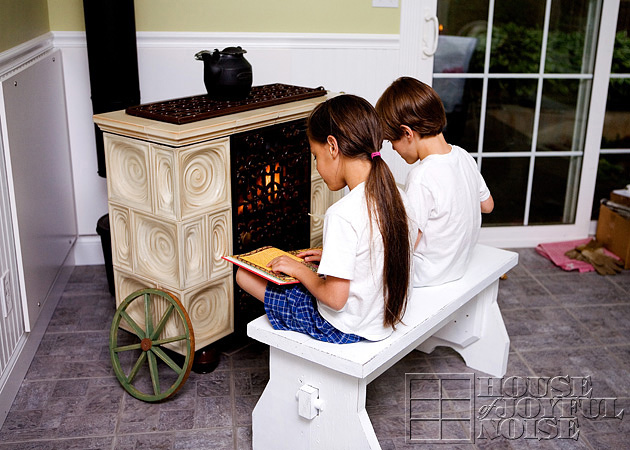
So much better than the footstool….don’t you think?? That thing was barely accommodating to the backside of myself.
Remember, you may not need a wood stove bench, but a bench like this can be used in any room of the house. For taking off and putting on shoes in a mudroom. By a window for some light reading. In the bathroom for putting down your fresh clothes and towels. Or outdoors under a tree, on your deck, or by an outdoor fire pit! I’m sure if you’re needing a rustic bench, you know the perfect spot for it at your home.
We hope you enjoyed this home project, however sporadic. Sometimes, we’re just pleased with ourselves, that we finished a project, even if it did take longer than we had originally planned!

Michael did a wonderful job! How nice to have a handyman in the household 🙂