
Here we are with more to teach you, about how to build a wood stove bench. So sorry about the big delay between the parts of this project. No doubt, many of you will need to refresh your memories about where we left off. So here is Part I. We’ll wait until you come back.
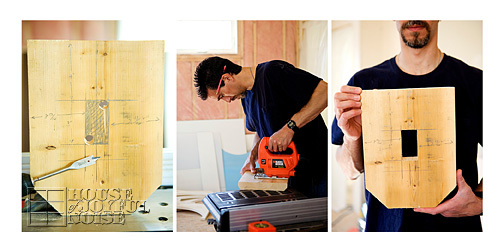
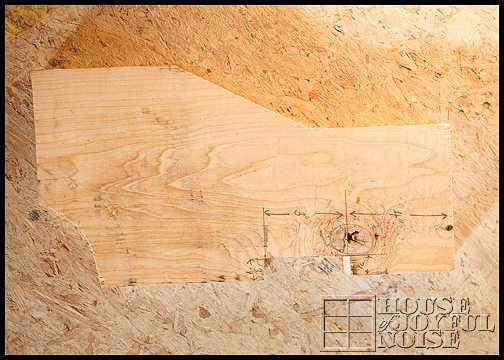
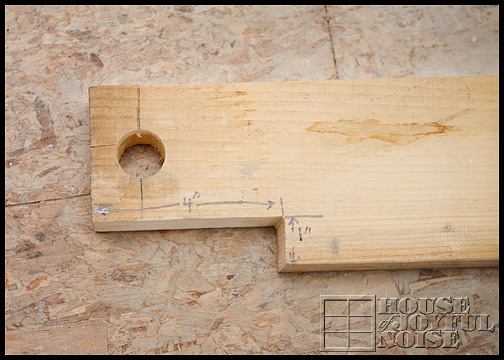
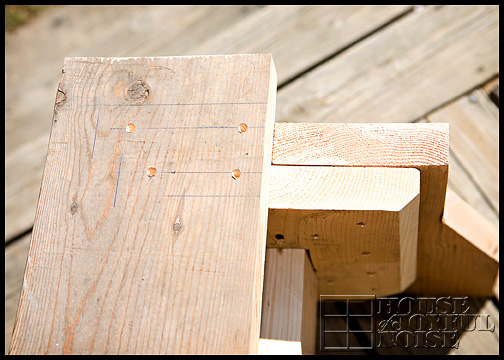
So below I need to cut out a rectangular notch for the cross beam to fit through. I have it sketched out in step one, which also shows 2 holes I drilled, as starters, for me to cut the notch with a saber saw. I cut the rectangular hole to the size of 3×1.5 inches. This is 4 inches down from the top, centered.
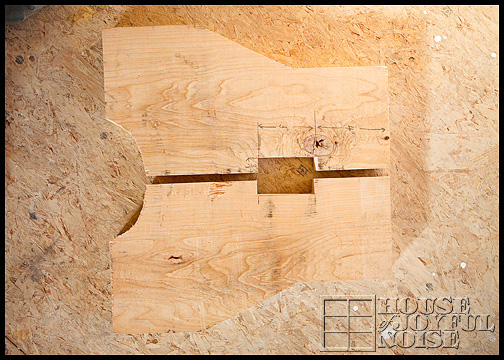
With that done, I now had to cut the same notch out of the legs. On this piece, it’s also 4 inches down, 3/4 inches in from the inside, and 3inches long.
This is done 4 times, on each of the 4 pieces………
–
Lay support pieces on top of leg halves, on what is to be the inside. Make the top flush and centered on pieces of legs, which are only pushed together here. Using 2 -1/2 ” screws, screw them together on both inside and outside.
Below as seen: Left: inside of one leg, Right: outside of one leg. Put 4-6 screws on the outside (less than the inside) for a better appearance.

–
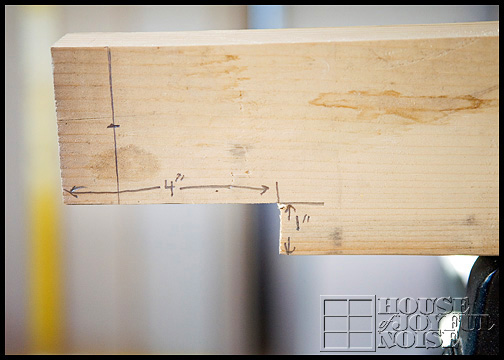
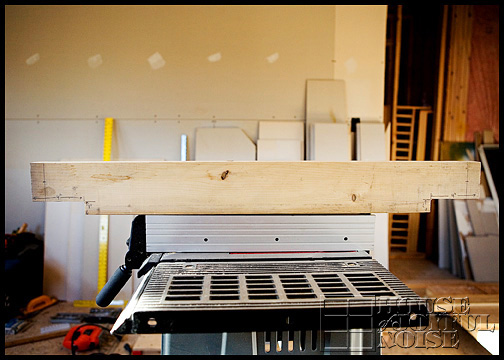
Below is one end of the center cross beam, to show the measurements that a notch needs to be cut out of.
–
Cut this out of the bottom edge of both ends of center beam.
–
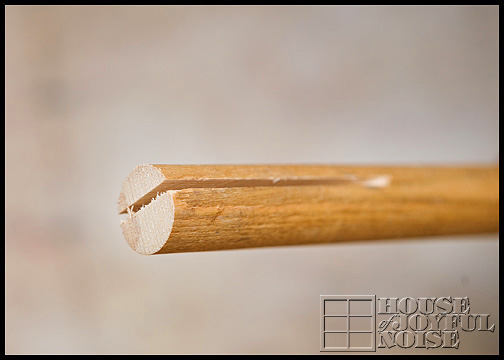
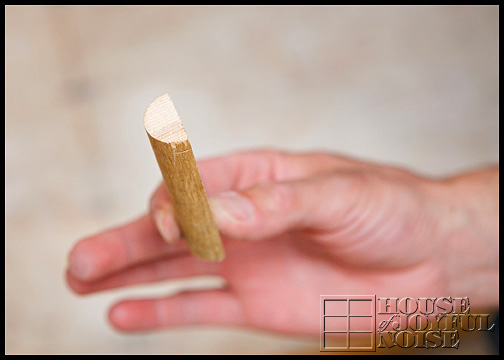
Here below is a 1″ dowel, in which I ripped to 1/2″ wide, and then after, chopped to 3″ long. (2 times, for 2 pieces.) I’ll show you what these are for in a minute…
–
At each end of the cross beam, in 1-1/16″ centered (in the height), I drilled a 1″ diameter hole.
–
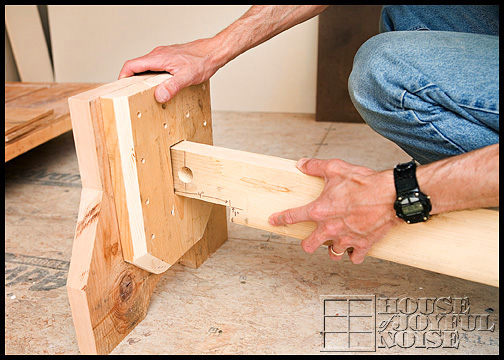
Now it is time to insert the center beam into the notch which is cut into the legs.
–
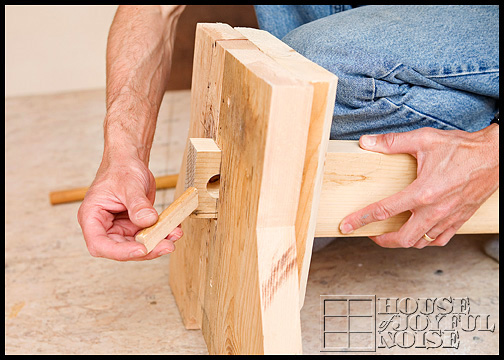
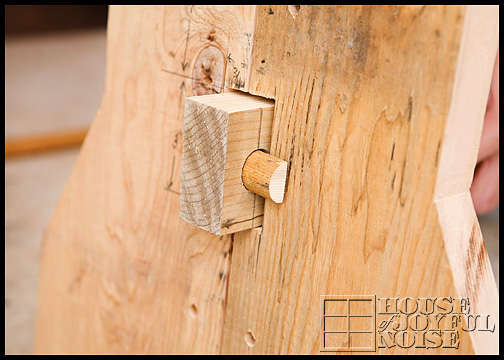
Insert 3″ dowel.
–
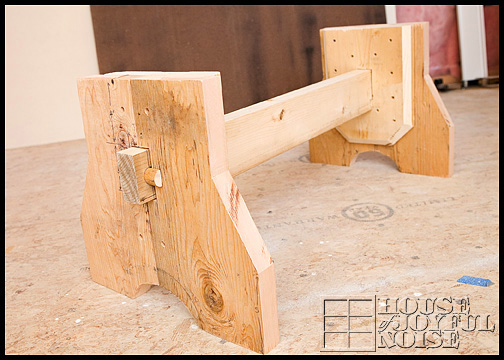
Now you have a free-standing base.
–
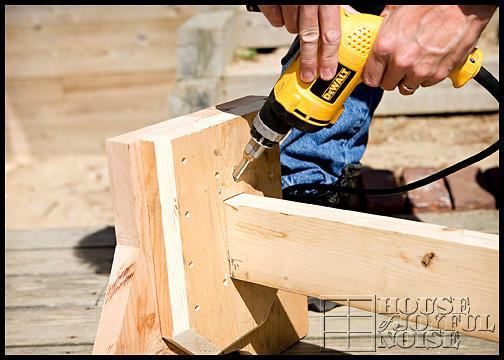
Just to sturdy things up, I installed a 2-1/2″ screw diagonally, through the support, into the center beam.
–
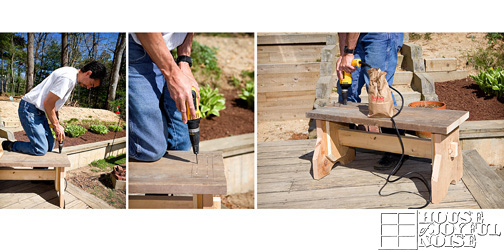
Next, I started placing the seat planks into place, making sure that they had the same over-hang on each end and sides.
–
Once both planks were down and in place, I screwed them into place, through the seat into the leg bases with 2-1/2 ” screws.
In Part III, we are going to prime and paint this baby, giving it a nice worn, farmhouse look.
See you then! Click here to see FINISHED BENCH >>>> PART III
Good question, Paula! If you are staining the bench, then yes, you should erase the pencil marks, because the stain is fairly transparent, and the marks may show through. But you need not bother with priming and painting, as it’ll cover all of the pencil marks just fine.
Priming and painting will be covered in the coming post. For our bench, we wanted rough wood finish, but you may prefer to sand your bench all over, especially the rough areas, with a piece of sandpaper, for a smooth surface, before either staining, or priming and painting.
I hope that helps! Thanks for the question!
I told you before that I am wood-challenged. So, do you have to erase the marks before priming and painting? Or only before staining? Or not at all?