Hi Everybody. I’m Michael, a.k.a. Mr. House Of Joyful Noise.
I’m excited to introduce my first project on the blog! I’m going to teach you how to build a wood stove bench.

I’ll be working this project in parts, and blogging as I go. I’ll do my best to explain what I’ve done, along with what photos we took, but if you find you still have questions, you can let me know in the comments to this post, and I will try to answer as best I can. So check the comments for replies if you leave me a question.
The other day, my bride mentioned that she was tired of our little stool in front of the wood stove. She wants something larger, homier, and I had to agree.
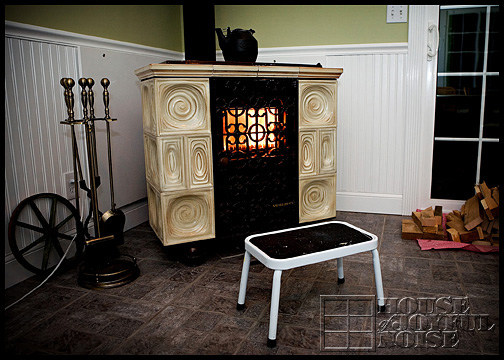
So I asked her what she would like to have, and she described the type of bench she would like. At this point, I sketched out something, as I always do when I start a project, just to have an idea of what direction I’m going in.
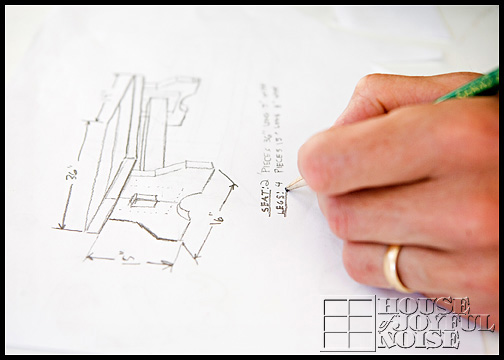
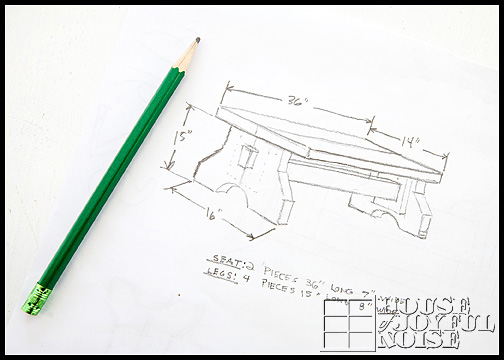
I came up with a height that would be best to sit and load the stove with wood, poke the fire, or clean the stove out, etc. My bride wanted it wide enough for 2 people to sit together. ♥♥ I also wanted a comfortable width so the bench would be stable on the floor. I felt like I had a good enough plan on paper to start the project.
I set out to find some scrap stock around the house. I ended up using two 6 foot pieces of 2″x10″ ‘s, left over from our sun room rafters.
I wanted the bench top 14 inches wide, and 36 inches long. So I ripped one of the 2×10’s to 7 inches in width.
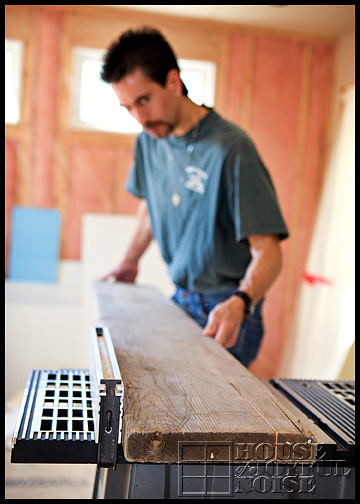
Once I had that ripped to size, it was time to cut it to 36 inches in length. This left me with 2 finished pieces 7″x36″.
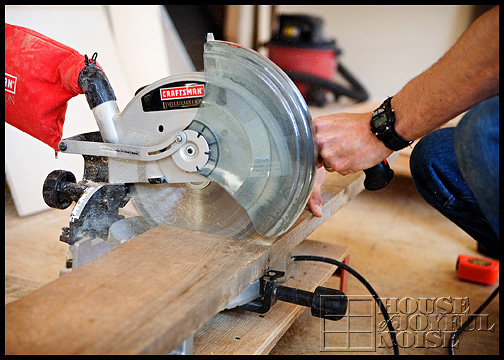
Then it was time to start the legs. I knew I needed 4 pieces 8 inches wide, by 15 inches tall. (Two pieces 8″x15″ per leg.) So it was back to the table saw to rip my second 2×10 to 8 inches in width.
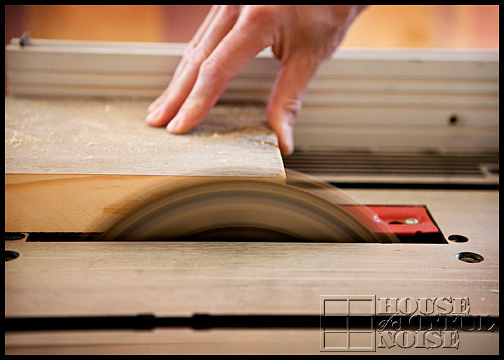
With that ripped to 8 inches wide, I then cut 4 pieces 15 inches long. These would be the legs. I then sketched the pattern onto one of the legs. I measured from the side in to 2.5 inches, and down from the top 5 inches, and marked it with a pencil. Then from the bottom of that piece, on the same side, I measured up 5 inches, and marked that. Then I drew the angle connecting those 2 points.
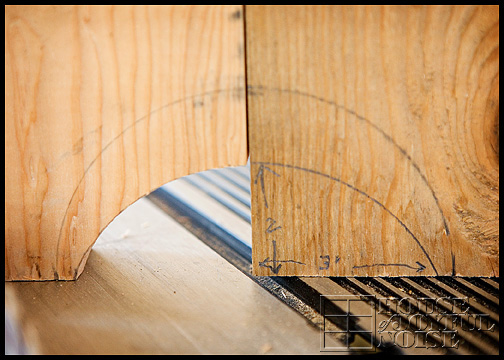
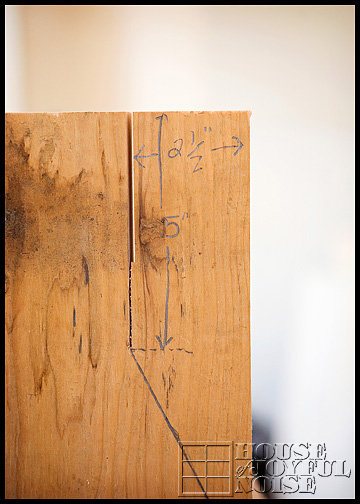
I cut on that pattern, and then repeated this 3 more times with the 3 remaining pieces. This gave me 4 identical pieces to build 2 legs for the bench.
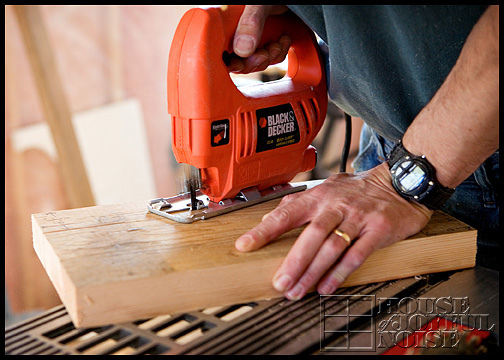
I also wanted an arch cut out of the bottom of the leg. So I measured 2 inches up the side, and marked it. Then I measured 3 inches along the bottom, and marked it. I took a one gallon paint can, set it on the piece, so that the can touched on both of those marks, and traced the curve. I cut them out with a jigsaw. (Don’t pay attention to the larger pencil arc. I was just figuring out how high I wanted it.)

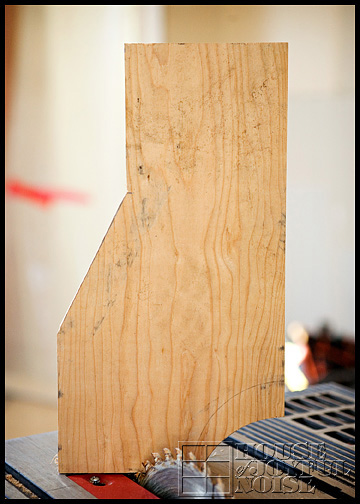
Here is a finished half leg.
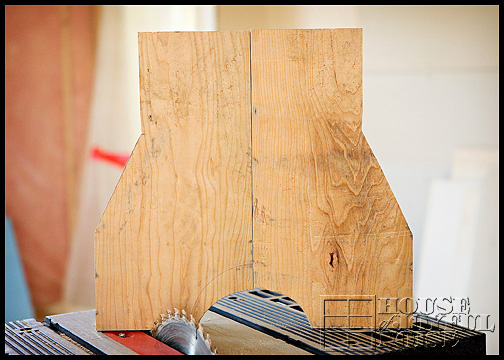
Putting 2 of these cut pieces together, this gives you an idea of the look of a finished leg.
Now, to secure these 2 pieces together, I cut a support piece for the inside of each leg. They are 9¼ wide by 12 inches high. To dress these pieces up a little, I cut 2 45 degree angles off the bottom, and did 45 degree bevel all the way around, except for the top.
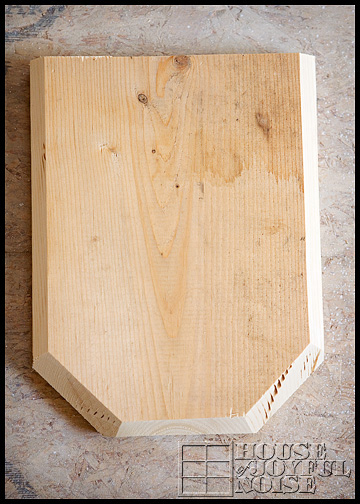
That piece will sit centered on the width and flush to the top of the legs.
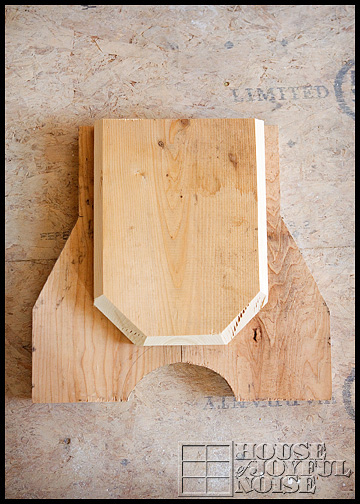
In Part II of this project, we will finish the cutting, and get ready for assembly of this bench. Later on, in Part III, we will prime, paint and finish the bench to a worn look, and show you how it looks in front of the wood stove.
Something to think about: In keeping with the general design of this bench, the measurements could be changed to build a bench for many different uses. For example, you could build a bench for your deck, your garden, a wall bench for in your home, or a bench for your kids to sit on in their playroom.
The projects I intend to blog about are anything I happen to be doing anyway, for our own home or needs. So as they come up in life, I will try to share in this manner here on our blog. I think you will find that my projects are often rough and simple. Since I am not a carpenter by trade, I have limited tools to work with. But I make do ok. My hope is that these projects will offer a jumping point for projects you may like to do, or inspire the men in your family in some way.
Please feel free to leave any suggestions or feedback about these project posts for me as well. I am new at blogging and explaining step by step. I just DO IT. So if there is anything I can do to clarify things for you, please let me know and I will do my best. Meanwhile, I hope you enjoyed Part I of my first blogged project!!
Click Here >>>> for Part II

Looks like a winner…good job….you take after your father making something great with scraps…kinda gray around the wiskers, tho…….where’s the gretian formula when you need it..lol….love, us
I’ll have to pass this onto my husband, as I’m sure he’ll appreciate your craftsmanship. He’s a project guy, too!
Hi Paula,
What it means to “rip” the wood is to make a cut the full length of the board you are working with. Ripping is done on a table saw and is for “trimming” the board to a desired width. I hope that clears it up for you and thanks for the comment.
Hi Regan,
Don’t you worry, my hands aren’t as close to the blade as it seems. It is just the angle that Laura took the photos at.
watch out for your fingers!!!! that looks awfully dangerous! =)
This is great. I’m glad you are going to post your projects. I’ve wanted a bench like this for years. I might just make this myself. Might. For building-challenged folks like myself, what do you mean by ‘ripping’ the wood– is that like trimming it?